Blog Photography Tips Josh Prostejovsky 1/29/26 Photography Tips Josh Prostejovsky 1/29/26 The first lens you should buy for landscape photography Read More Photography Tips Josh Prostejovsky 9/23/19 Photography Tips Josh Prostejovsky 9/23/19 3 Landscape Photography Tips Read More
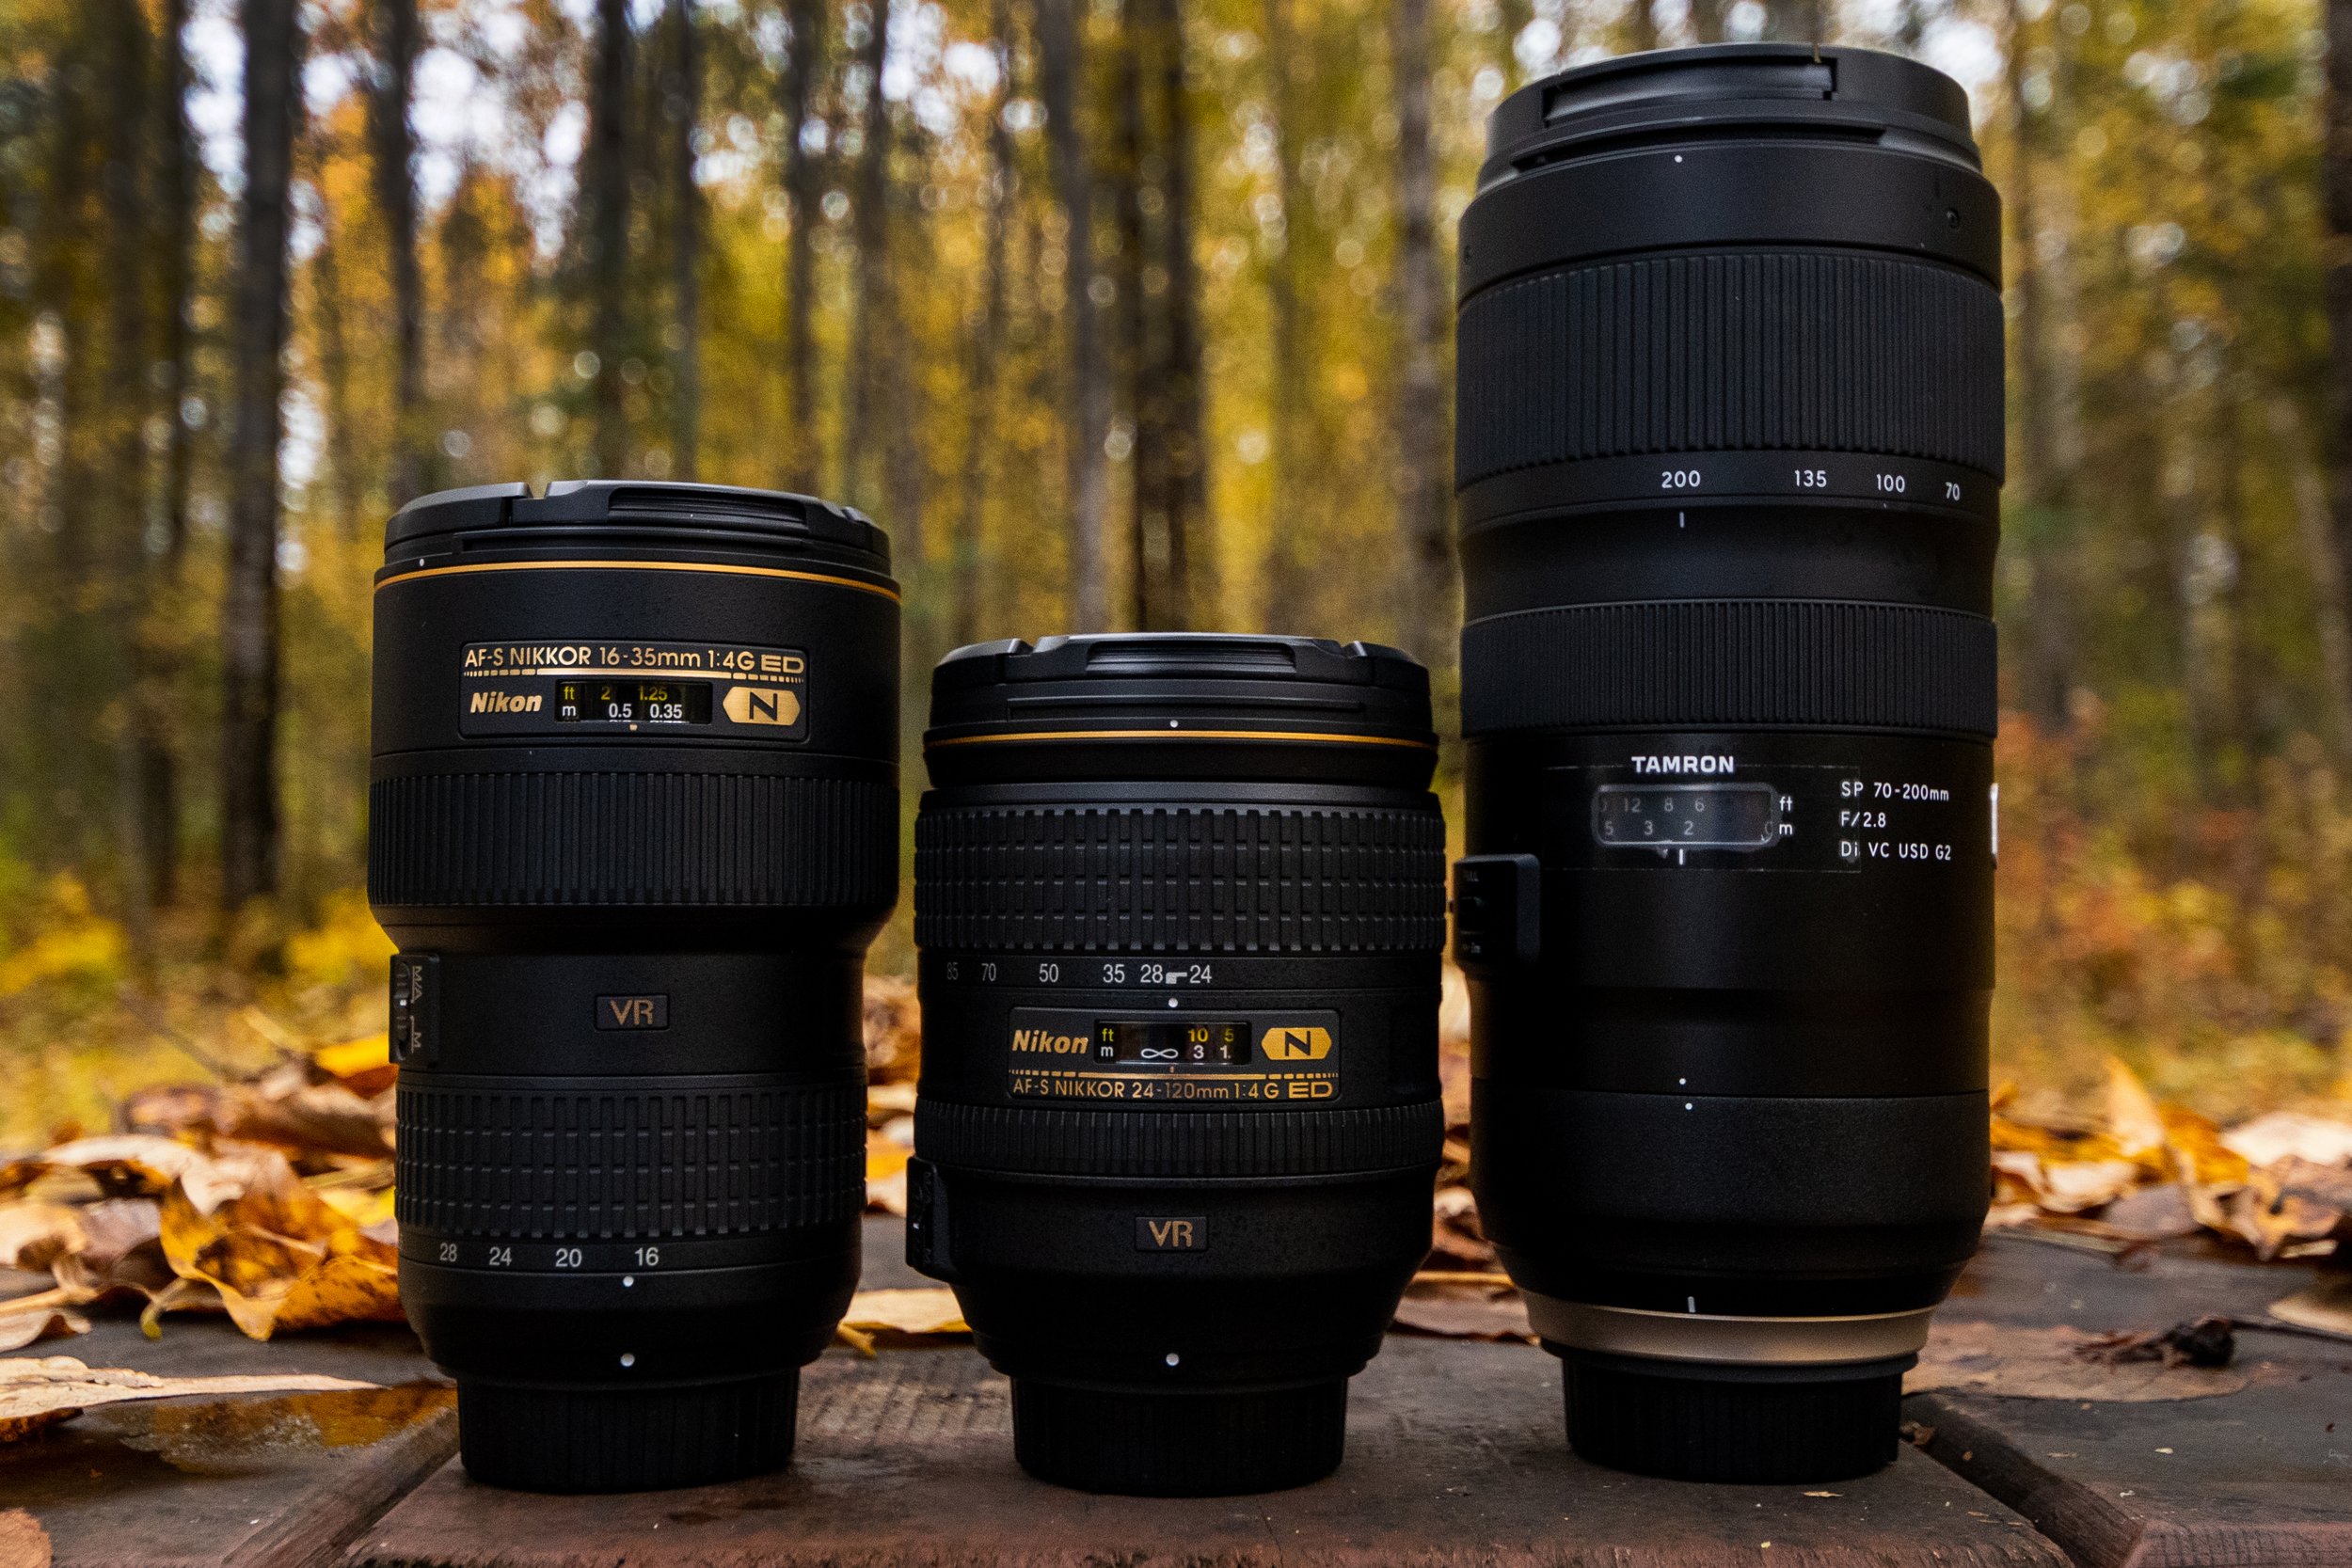
Photography Tips Josh Prostejovsky 1/29/26 Photography Tips Josh Prostejovsky 1/29/26 The first lens you should buy for landscape photography Read More
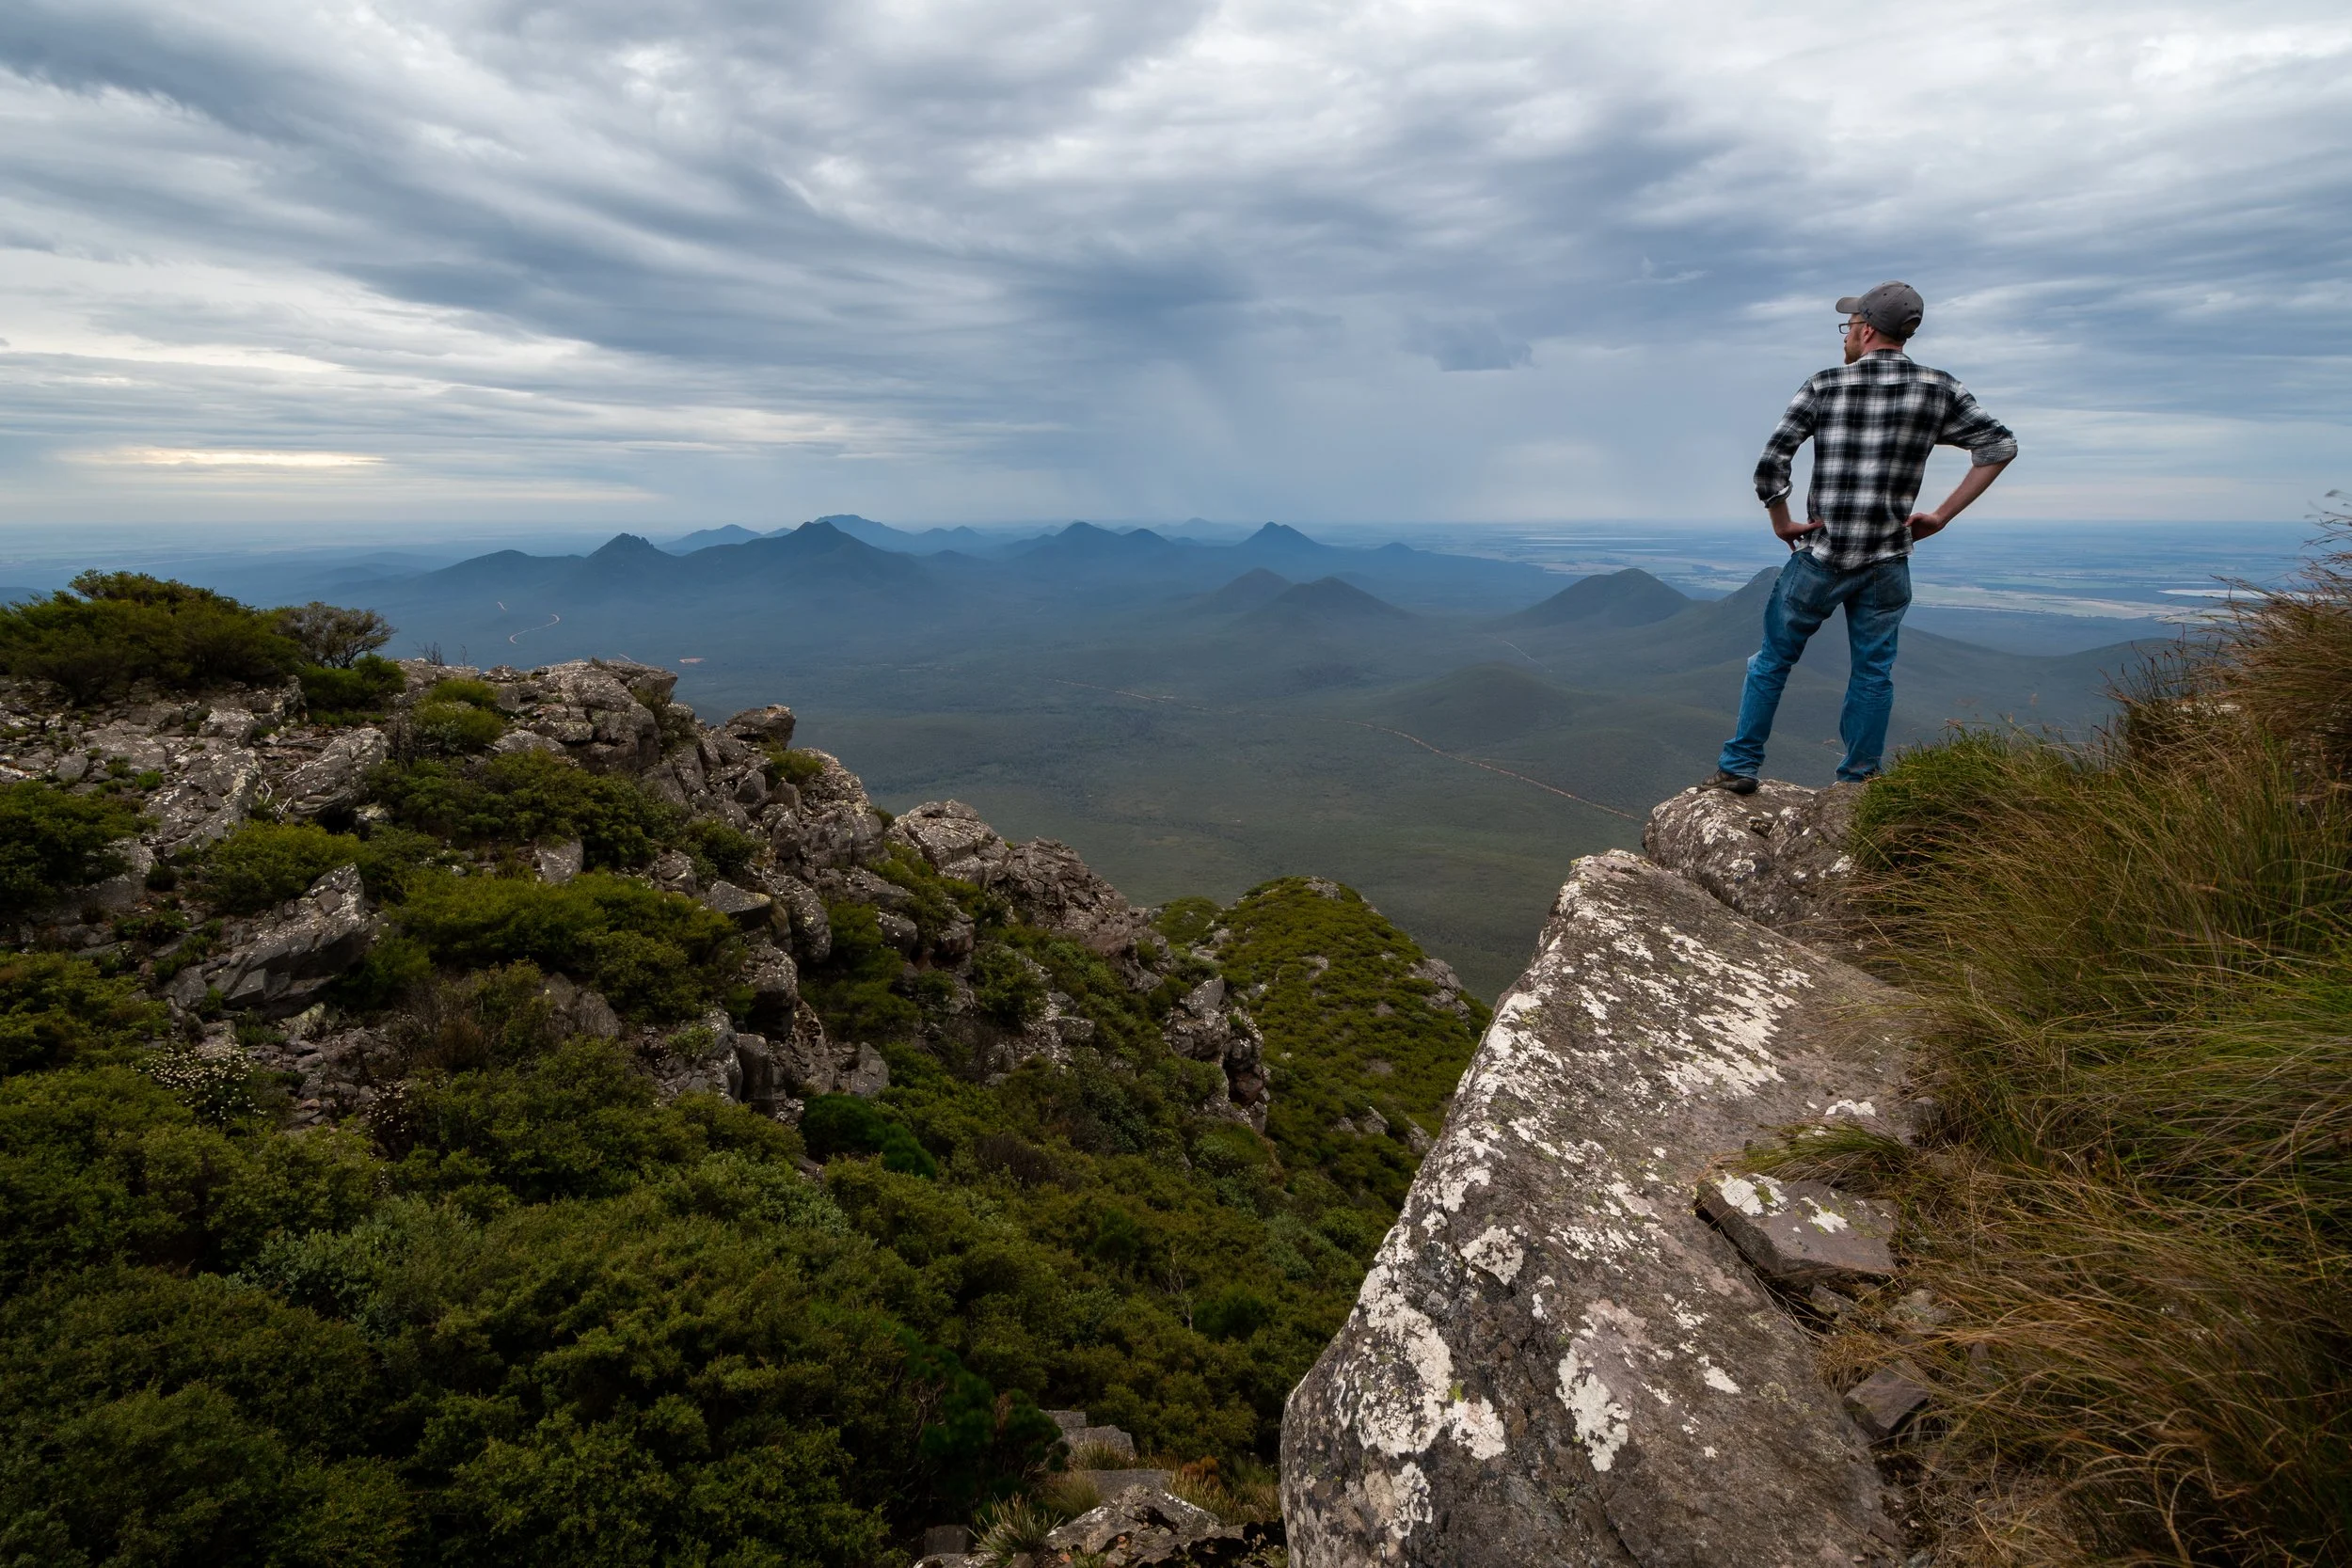
Photography Tips Josh Prostejovsky 9/23/19 Photography Tips Josh Prostejovsky 9/23/19 3 Landscape Photography Tips Read More