Blog Photography Tips Josh Prostejovsky 2/9/26 Photography Tips Josh Prostejovsky 2/9/26 What is a long exposure? Read More Photography Tips Josh Prostejovsky 1/29/26 Photography Tips Josh Prostejovsky 1/29/26 The first lens you should buy for landscape photography Read More Photography Tips Josh Prostejovsky 4/12/20 Photography Tips Josh Prostejovsky 4/12/20 The best place to see wild Koalas Read More Photography Tips Josh Prostejovsky 10/31/19 Photography Tips Josh Prostejovsky 10/31/19 Best Way to See Crocodiles in Australia Read More Photography Tips Josh Prostejovsky 9/23/19 Photography Tips Josh Prostejovsky 9/23/19 3 Landscape Photography Tips Read More Photography Tips Josh Prostejovsky 7/26/19 Photography Tips Josh Prostejovsky 7/26/19 5 Wildlife Photography Tips Read More
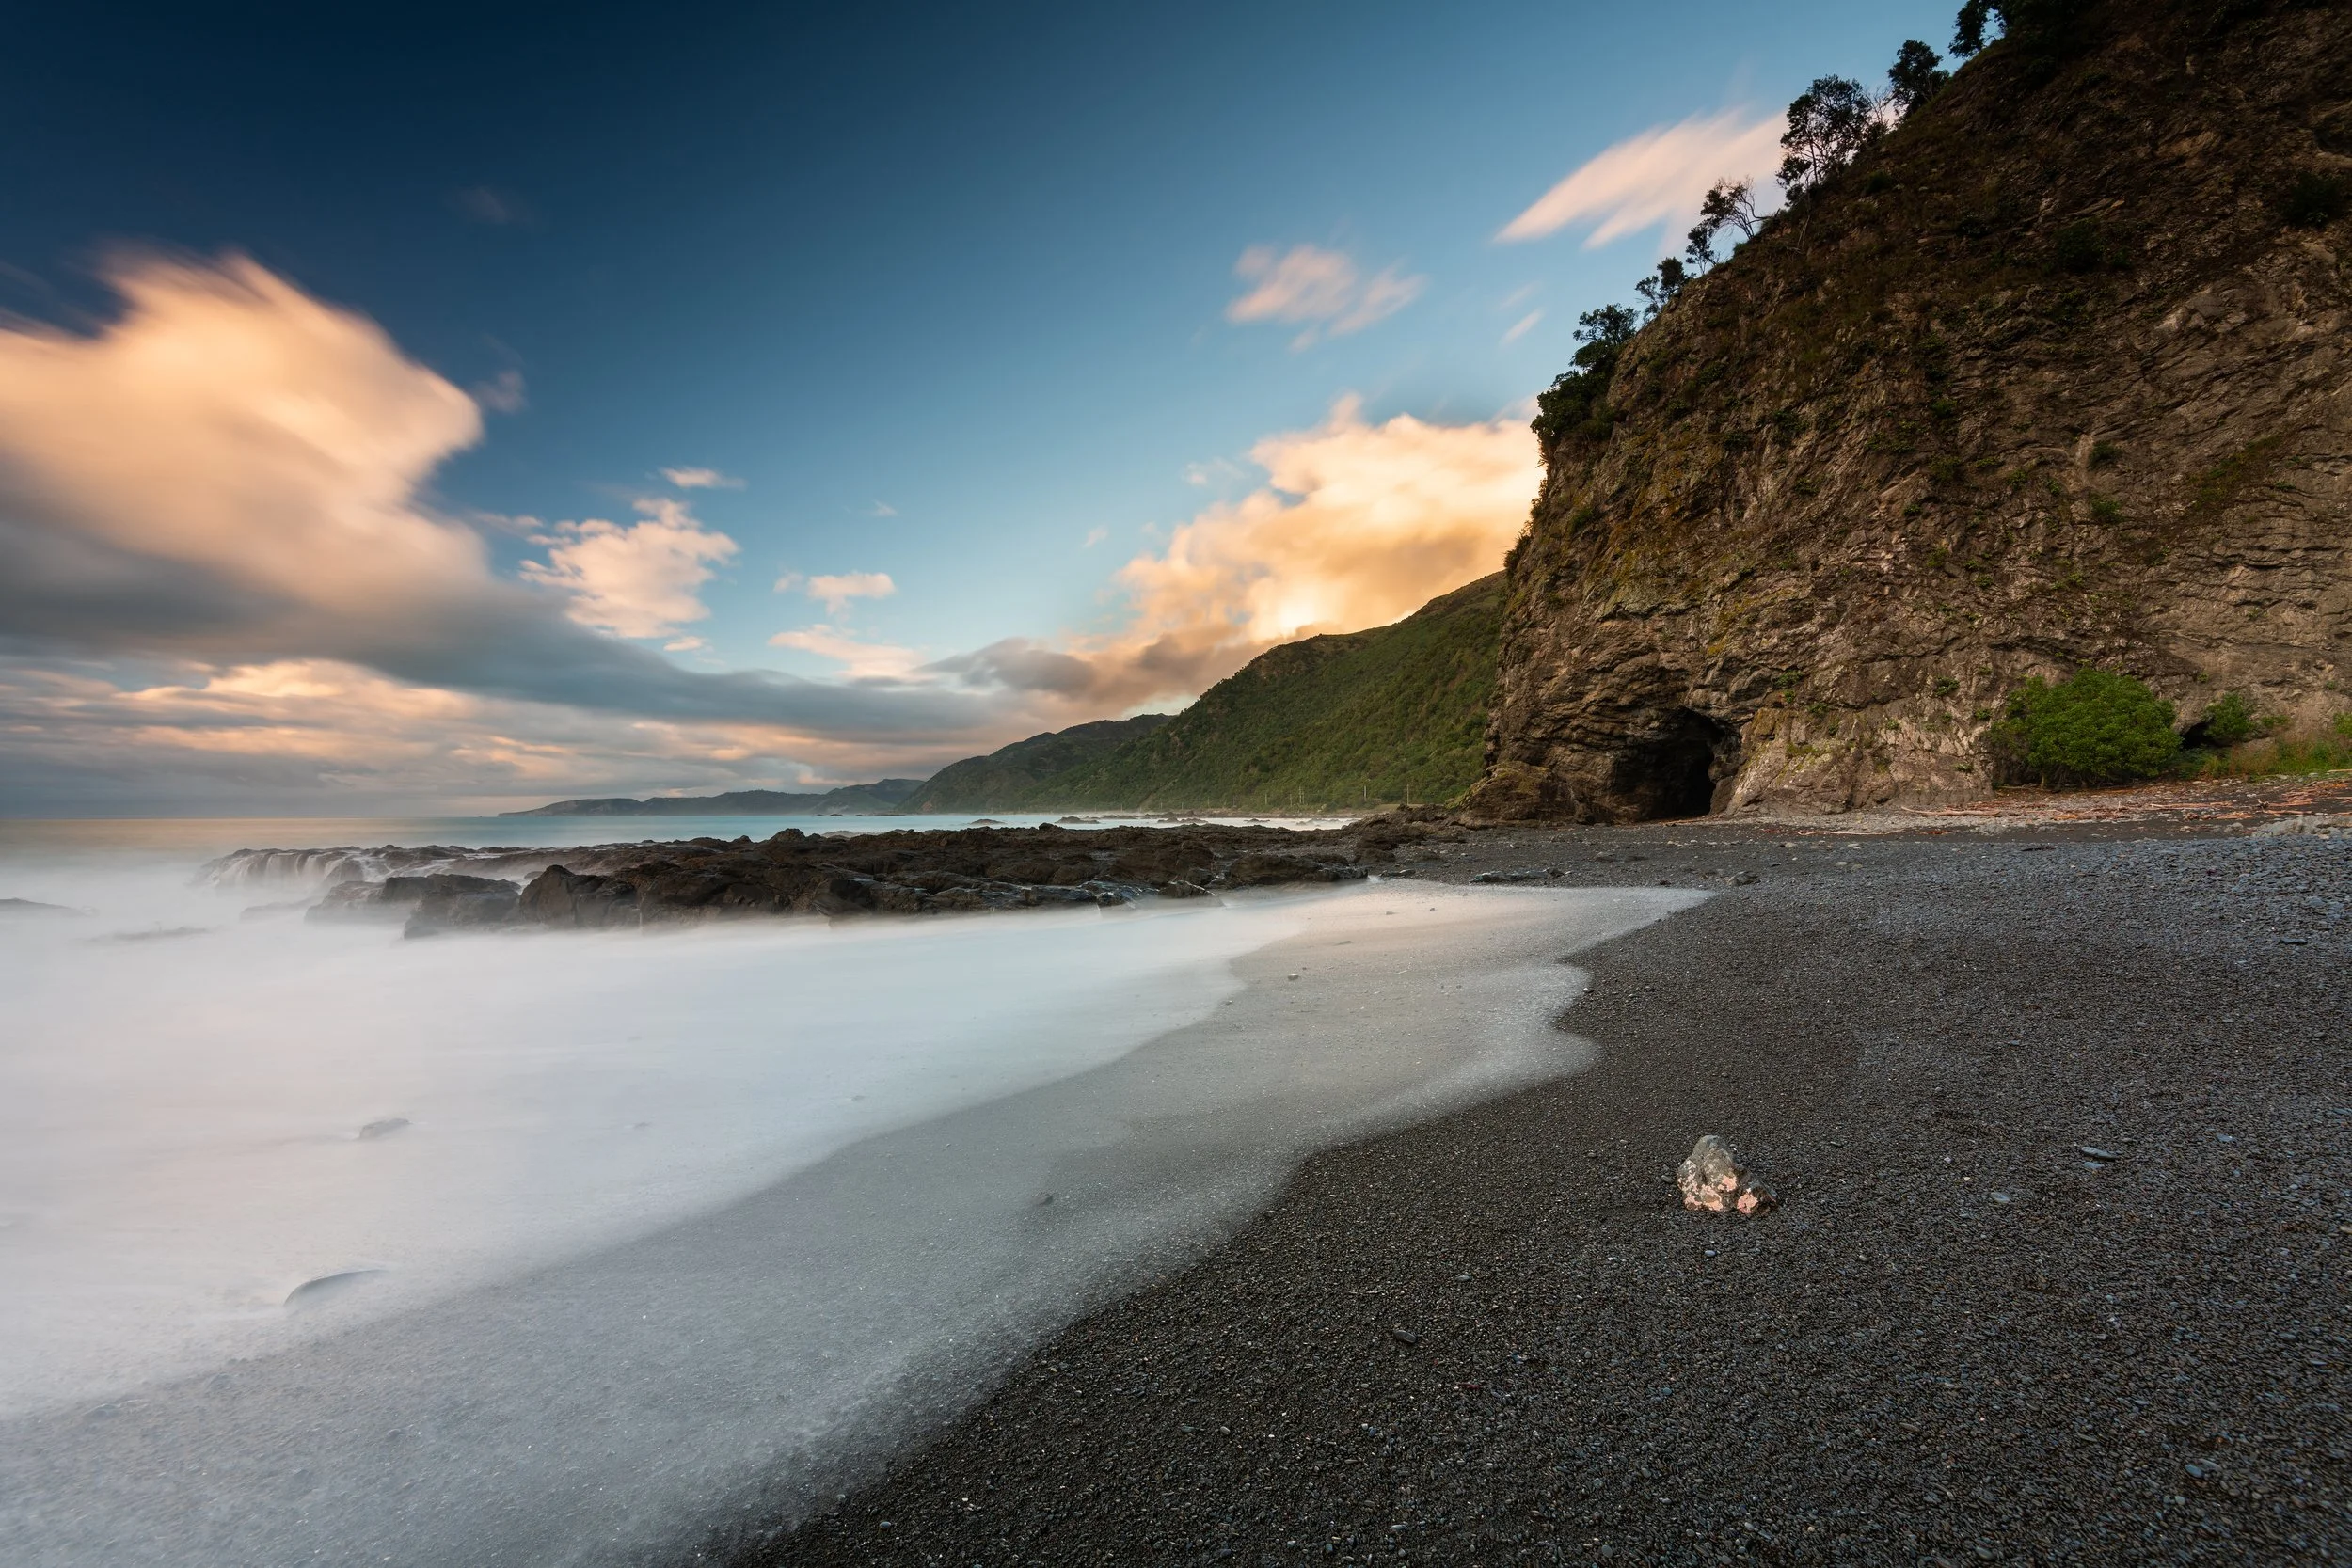
Photography Tips Josh Prostejovsky 2/9/26 Photography Tips Josh Prostejovsky 2/9/26 What is a long exposure? Read More
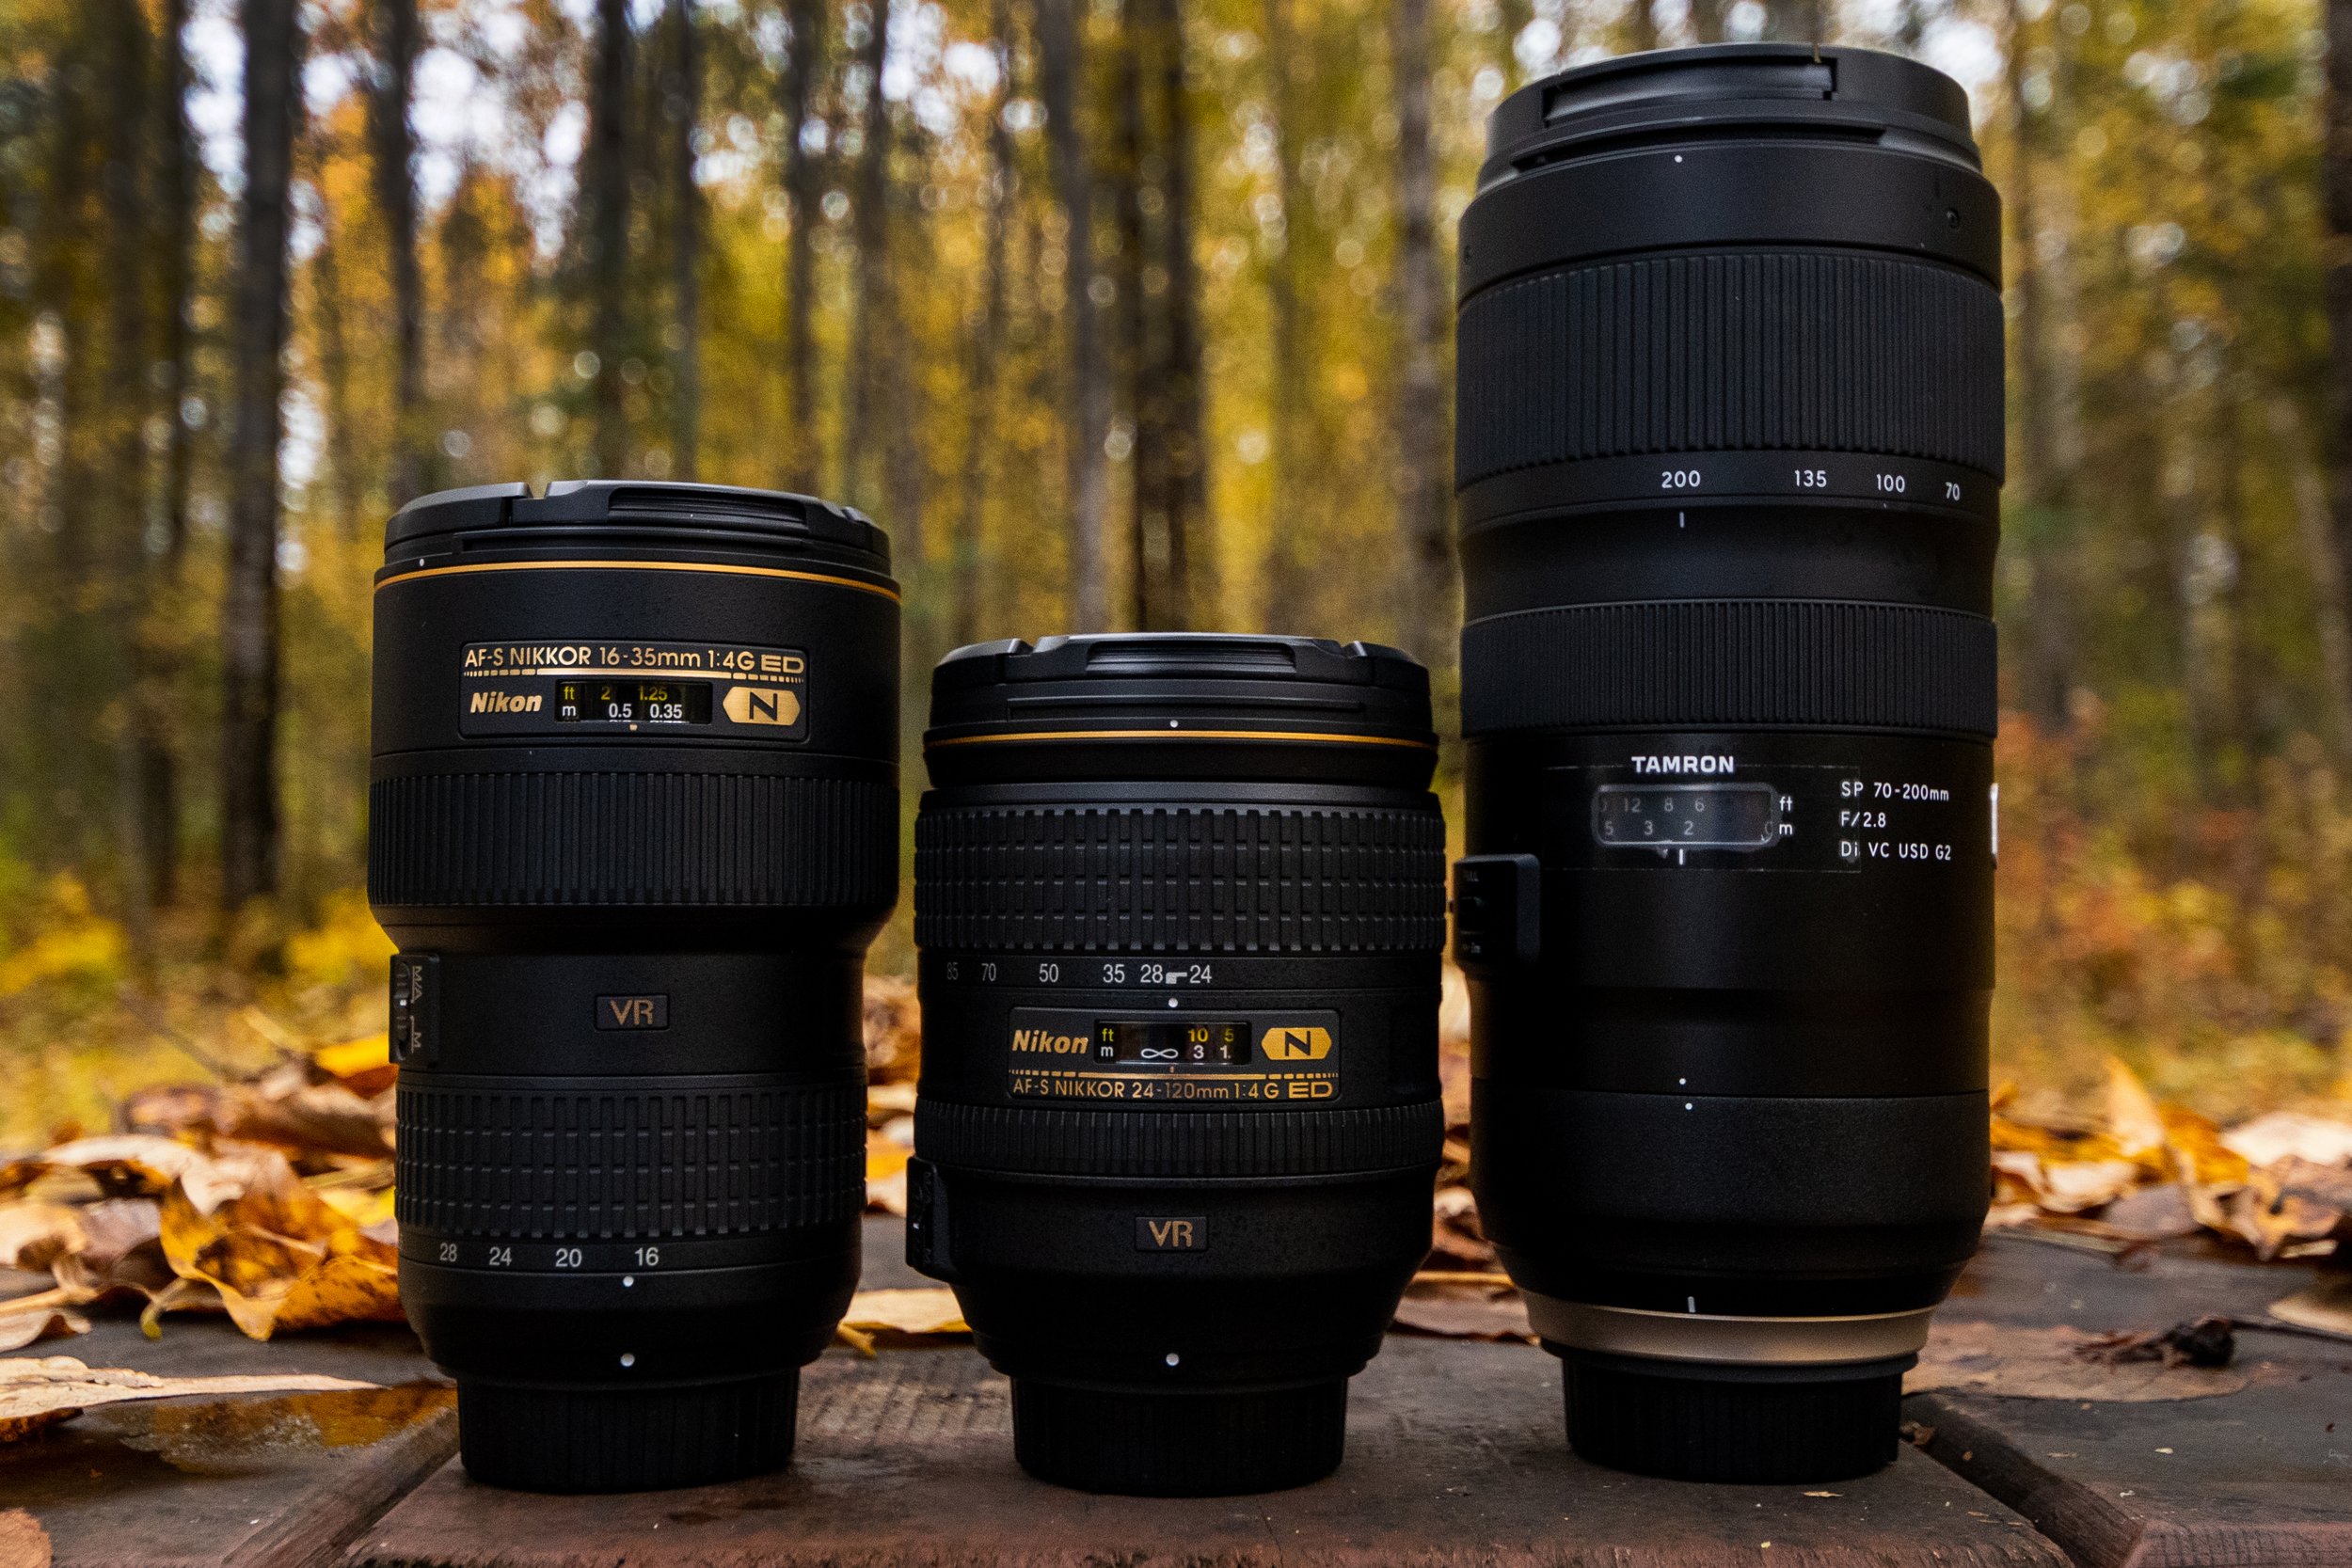
Photography Tips Josh Prostejovsky 1/29/26 Photography Tips Josh Prostejovsky 1/29/26 The first lens you should buy for landscape photography Read More
Photography Tips Josh Prostejovsky 4/12/20 Photography Tips Josh Prostejovsky 4/12/20 The best place to see wild Koalas Read More
Photography Tips Josh Prostejovsky 10/31/19 Photography Tips Josh Prostejovsky 10/31/19 Best Way to See Crocodiles in Australia Read More
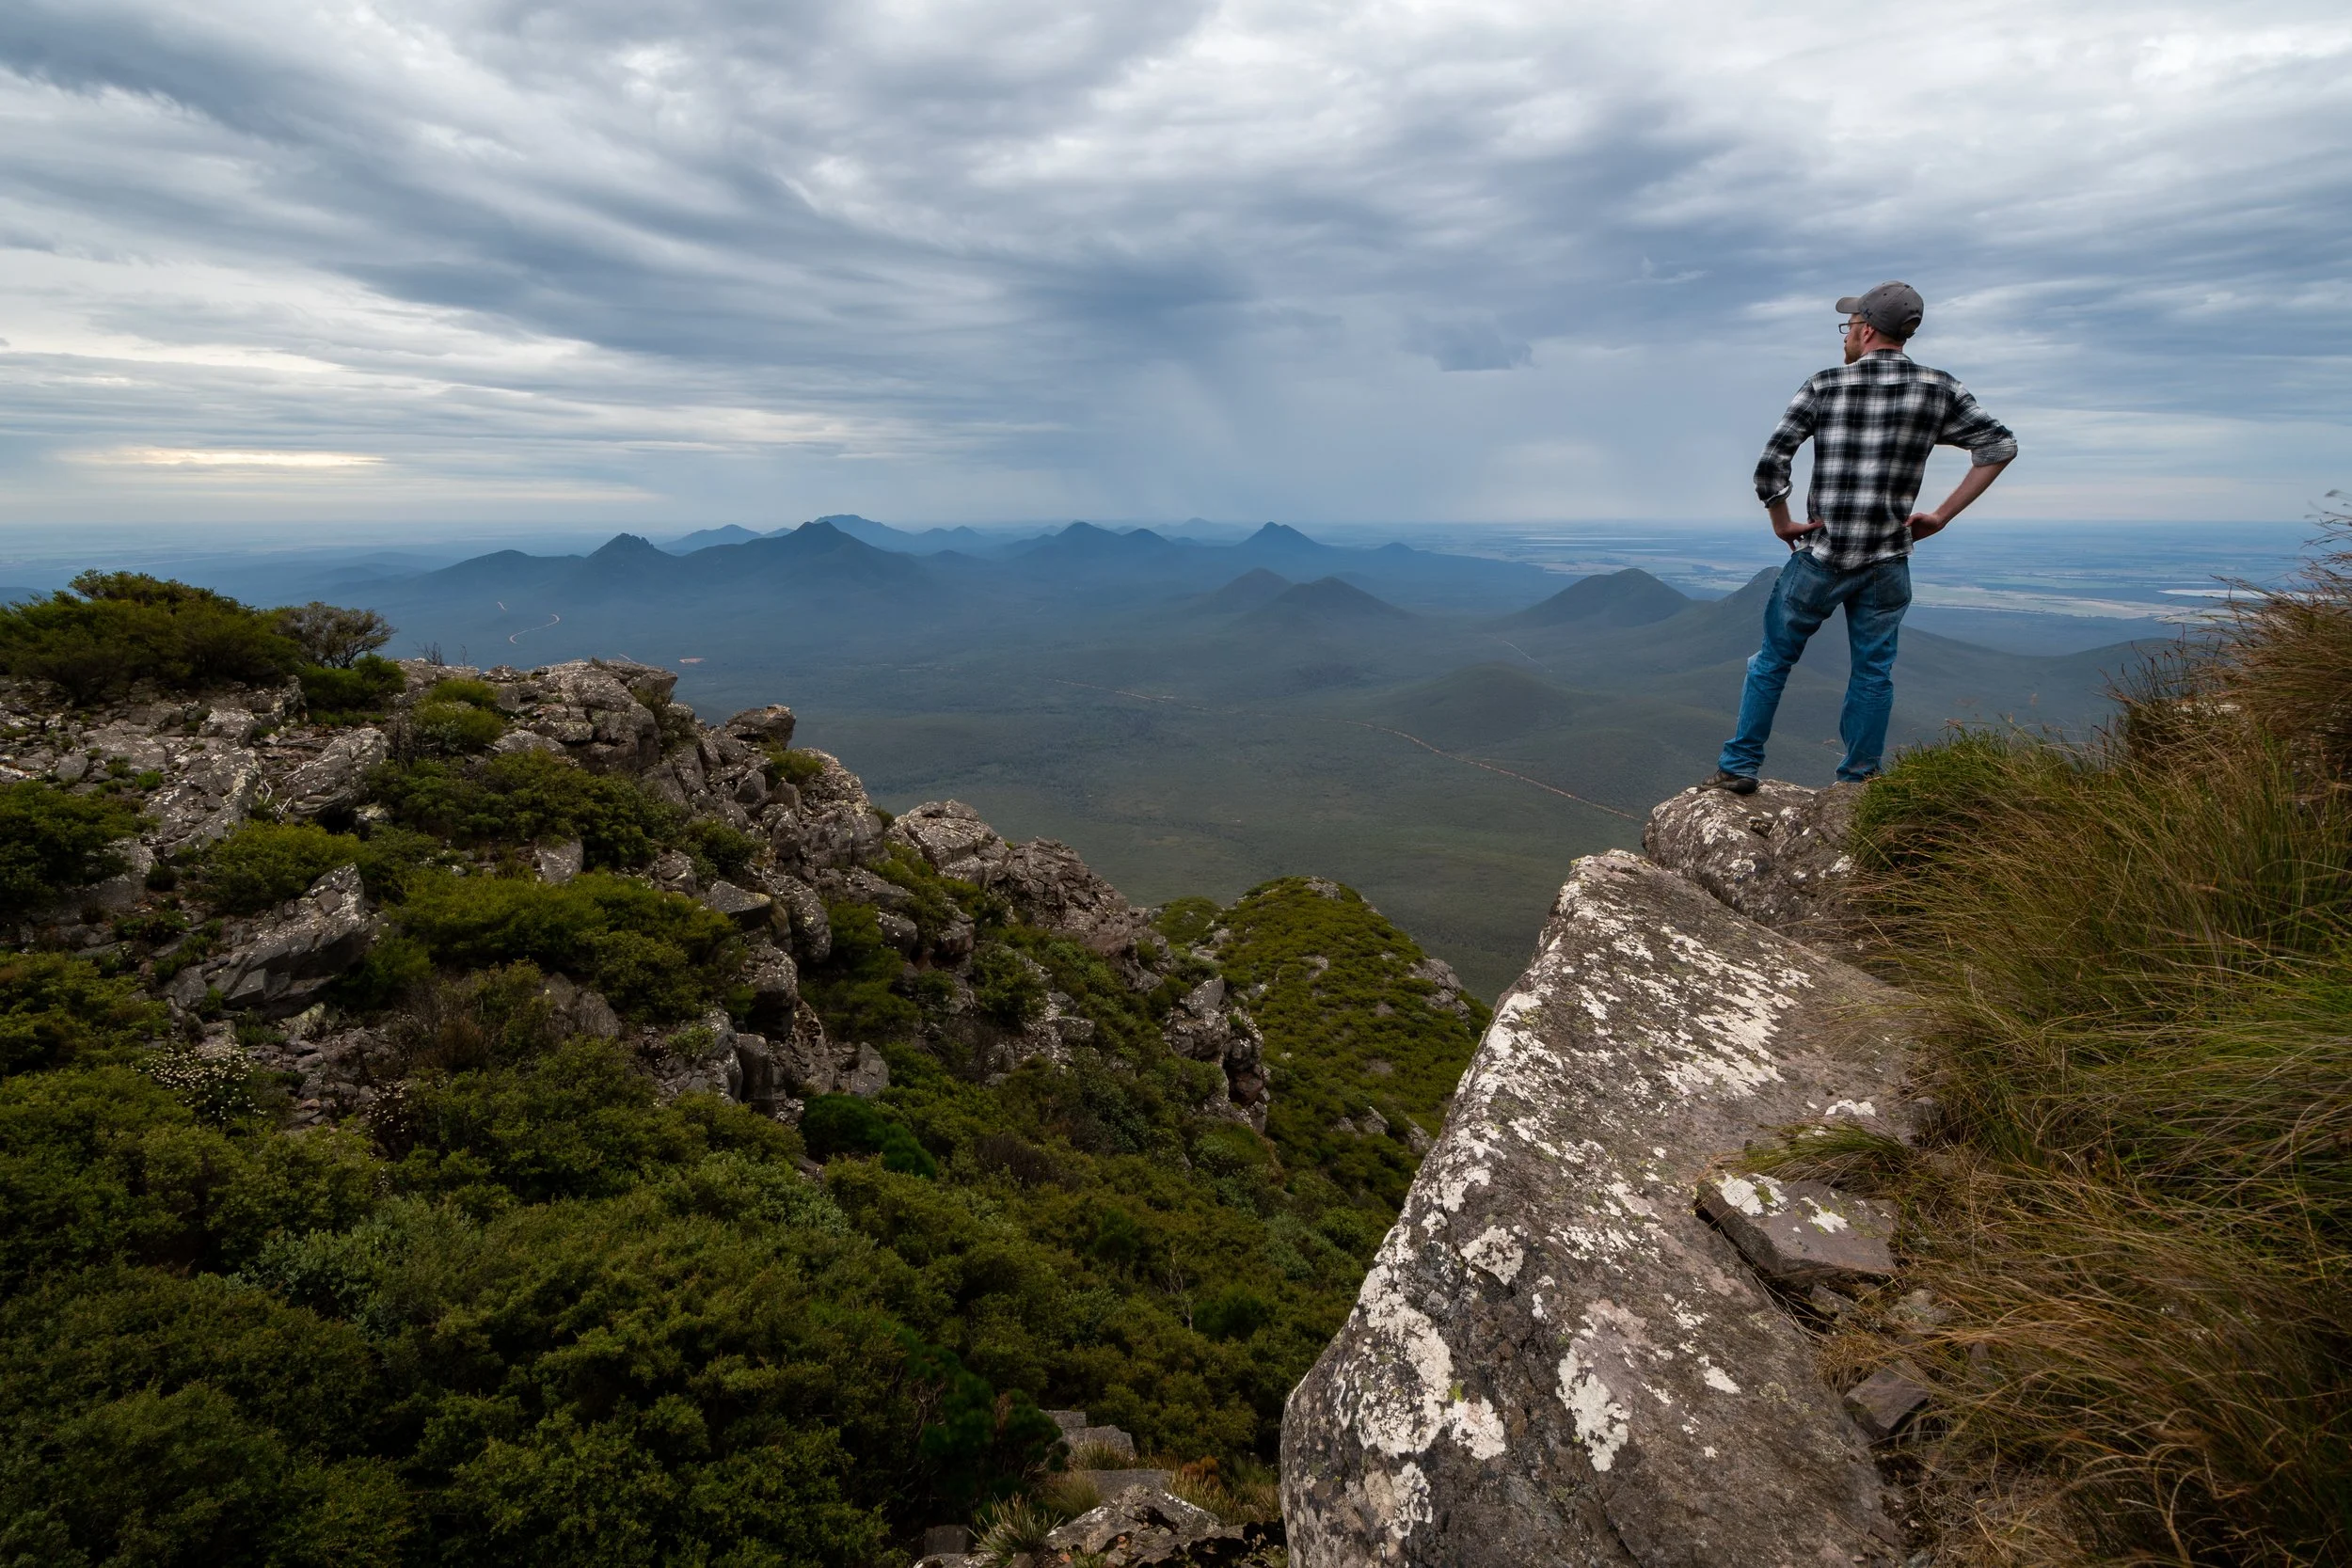
Photography Tips Josh Prostejovsky 9/23/19 Photography Tips Josh Prostejovsky 9/23/19 3 Landscape Photography Tips Read More
Photography Tips Josh Prostejovsky 7/26/19 Photography Tips Josh Prostejovsky 7/26/19 5 Wildlife Photography Tips Read More