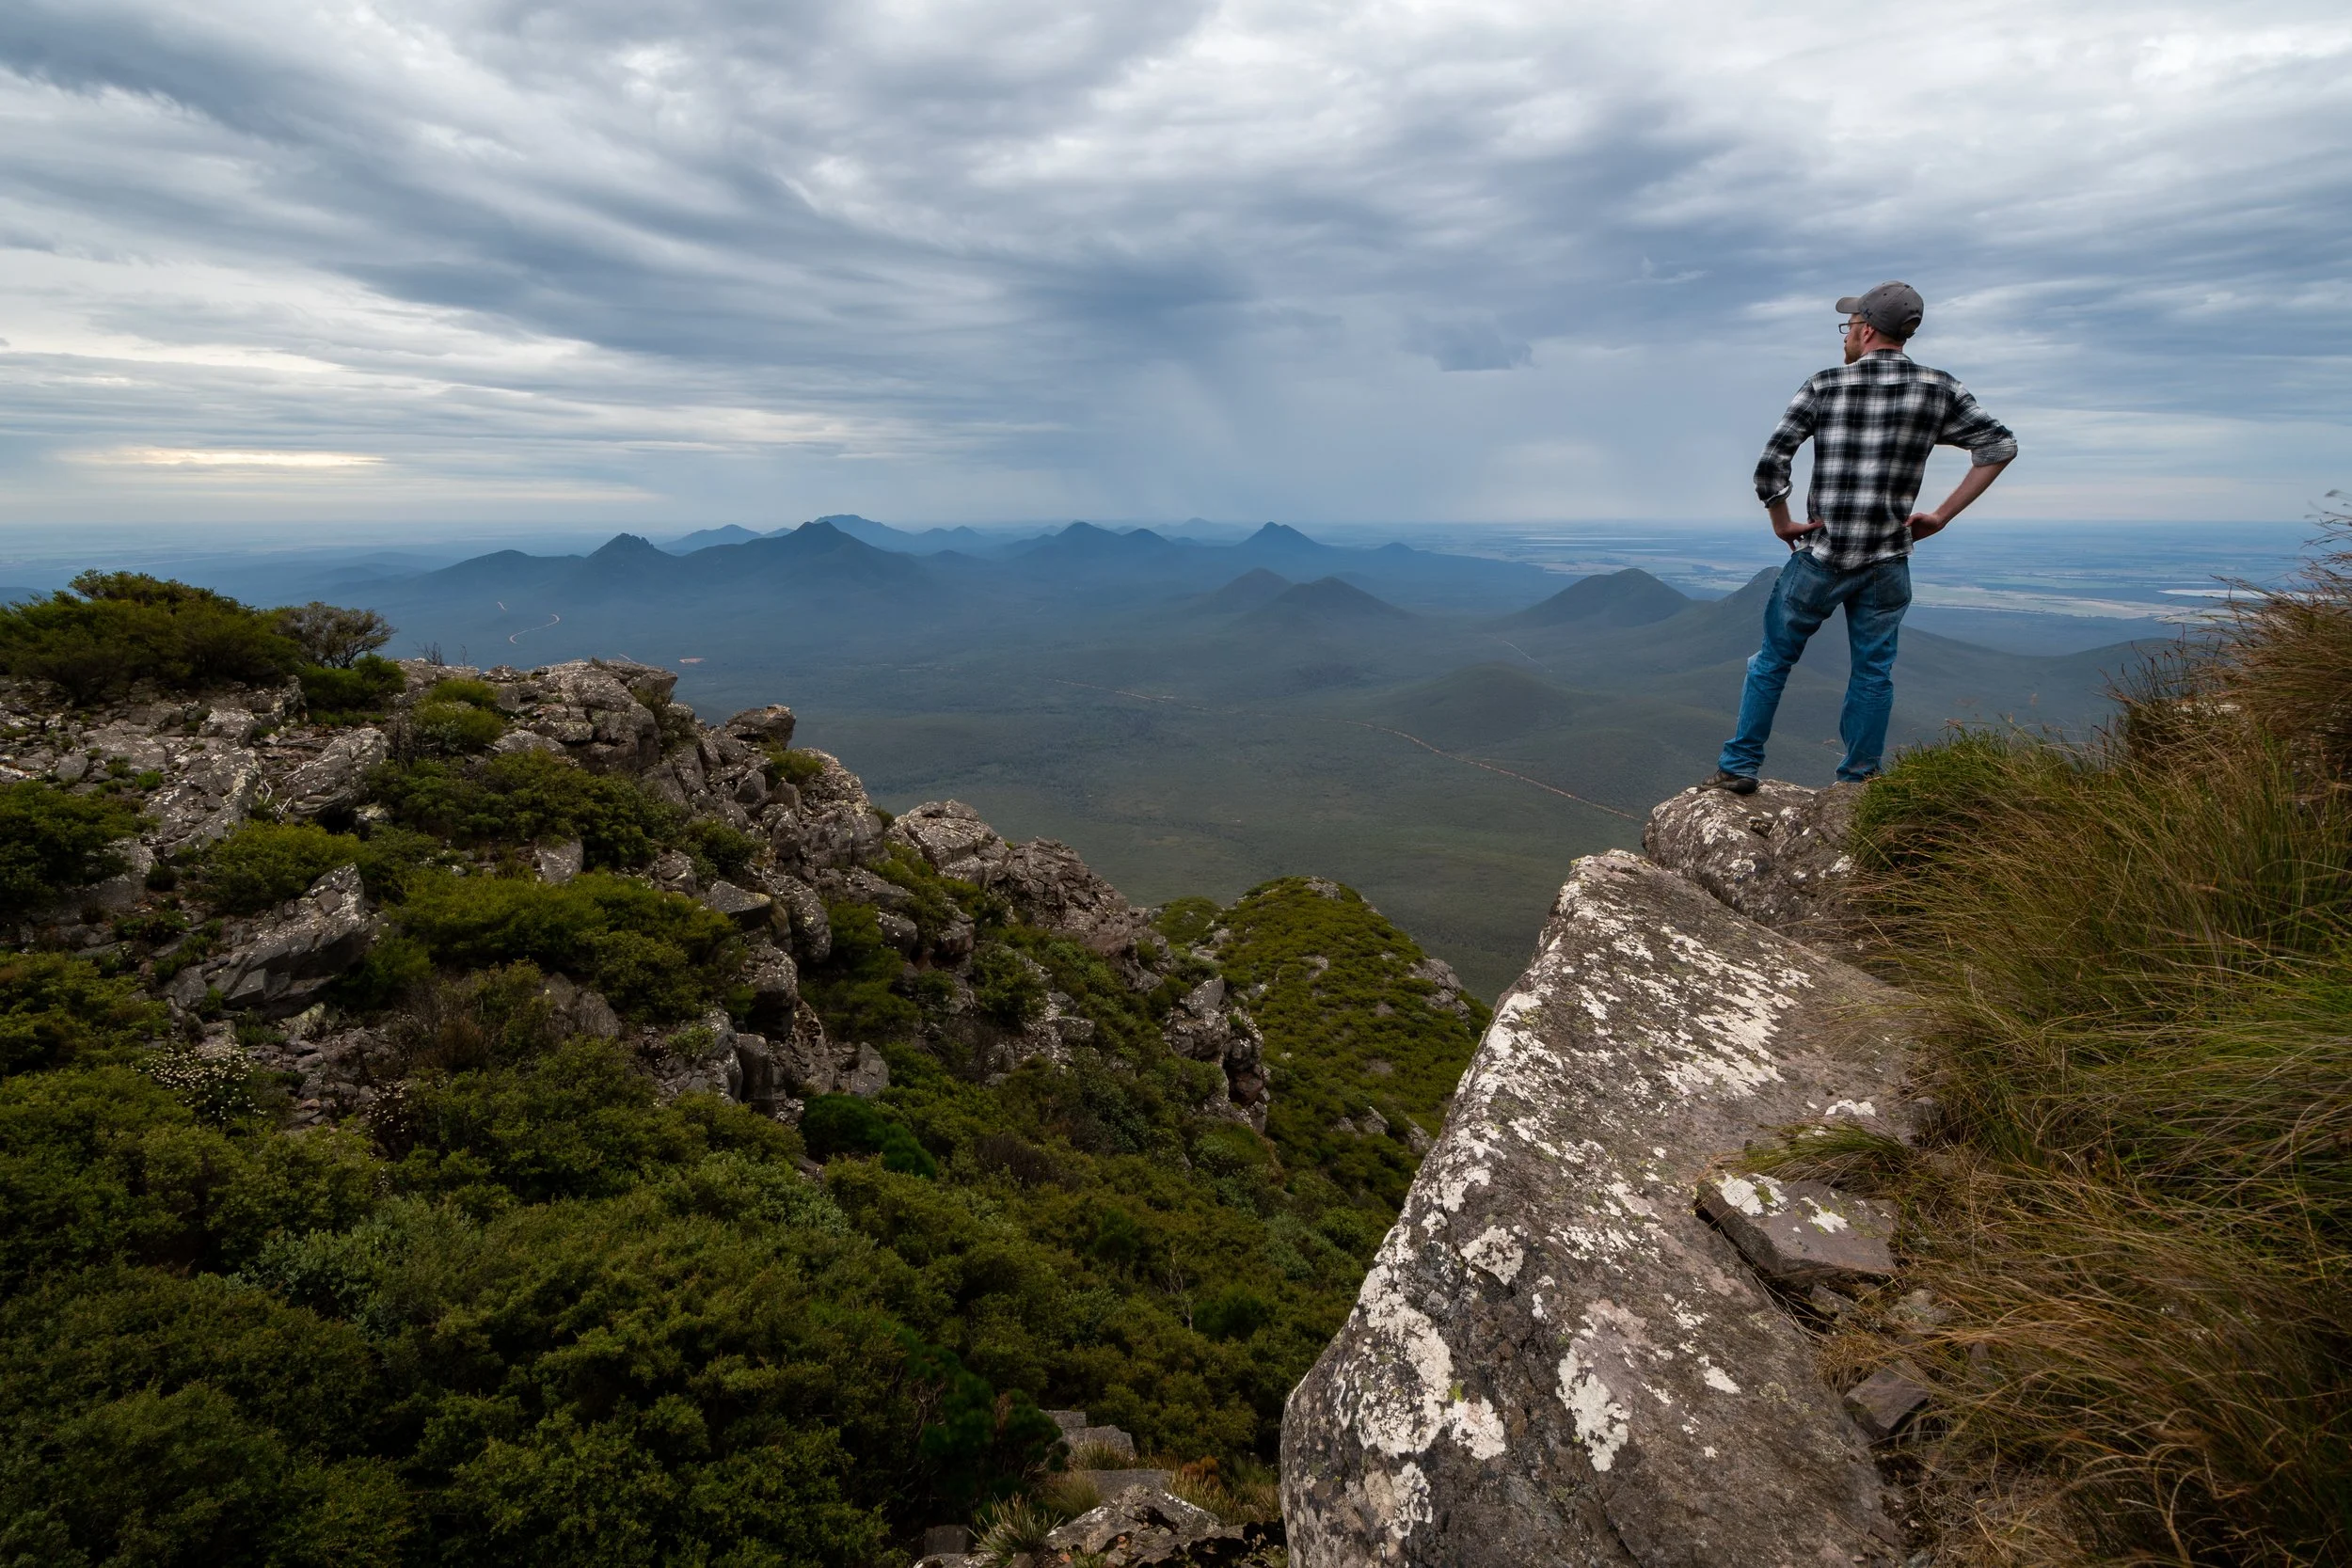
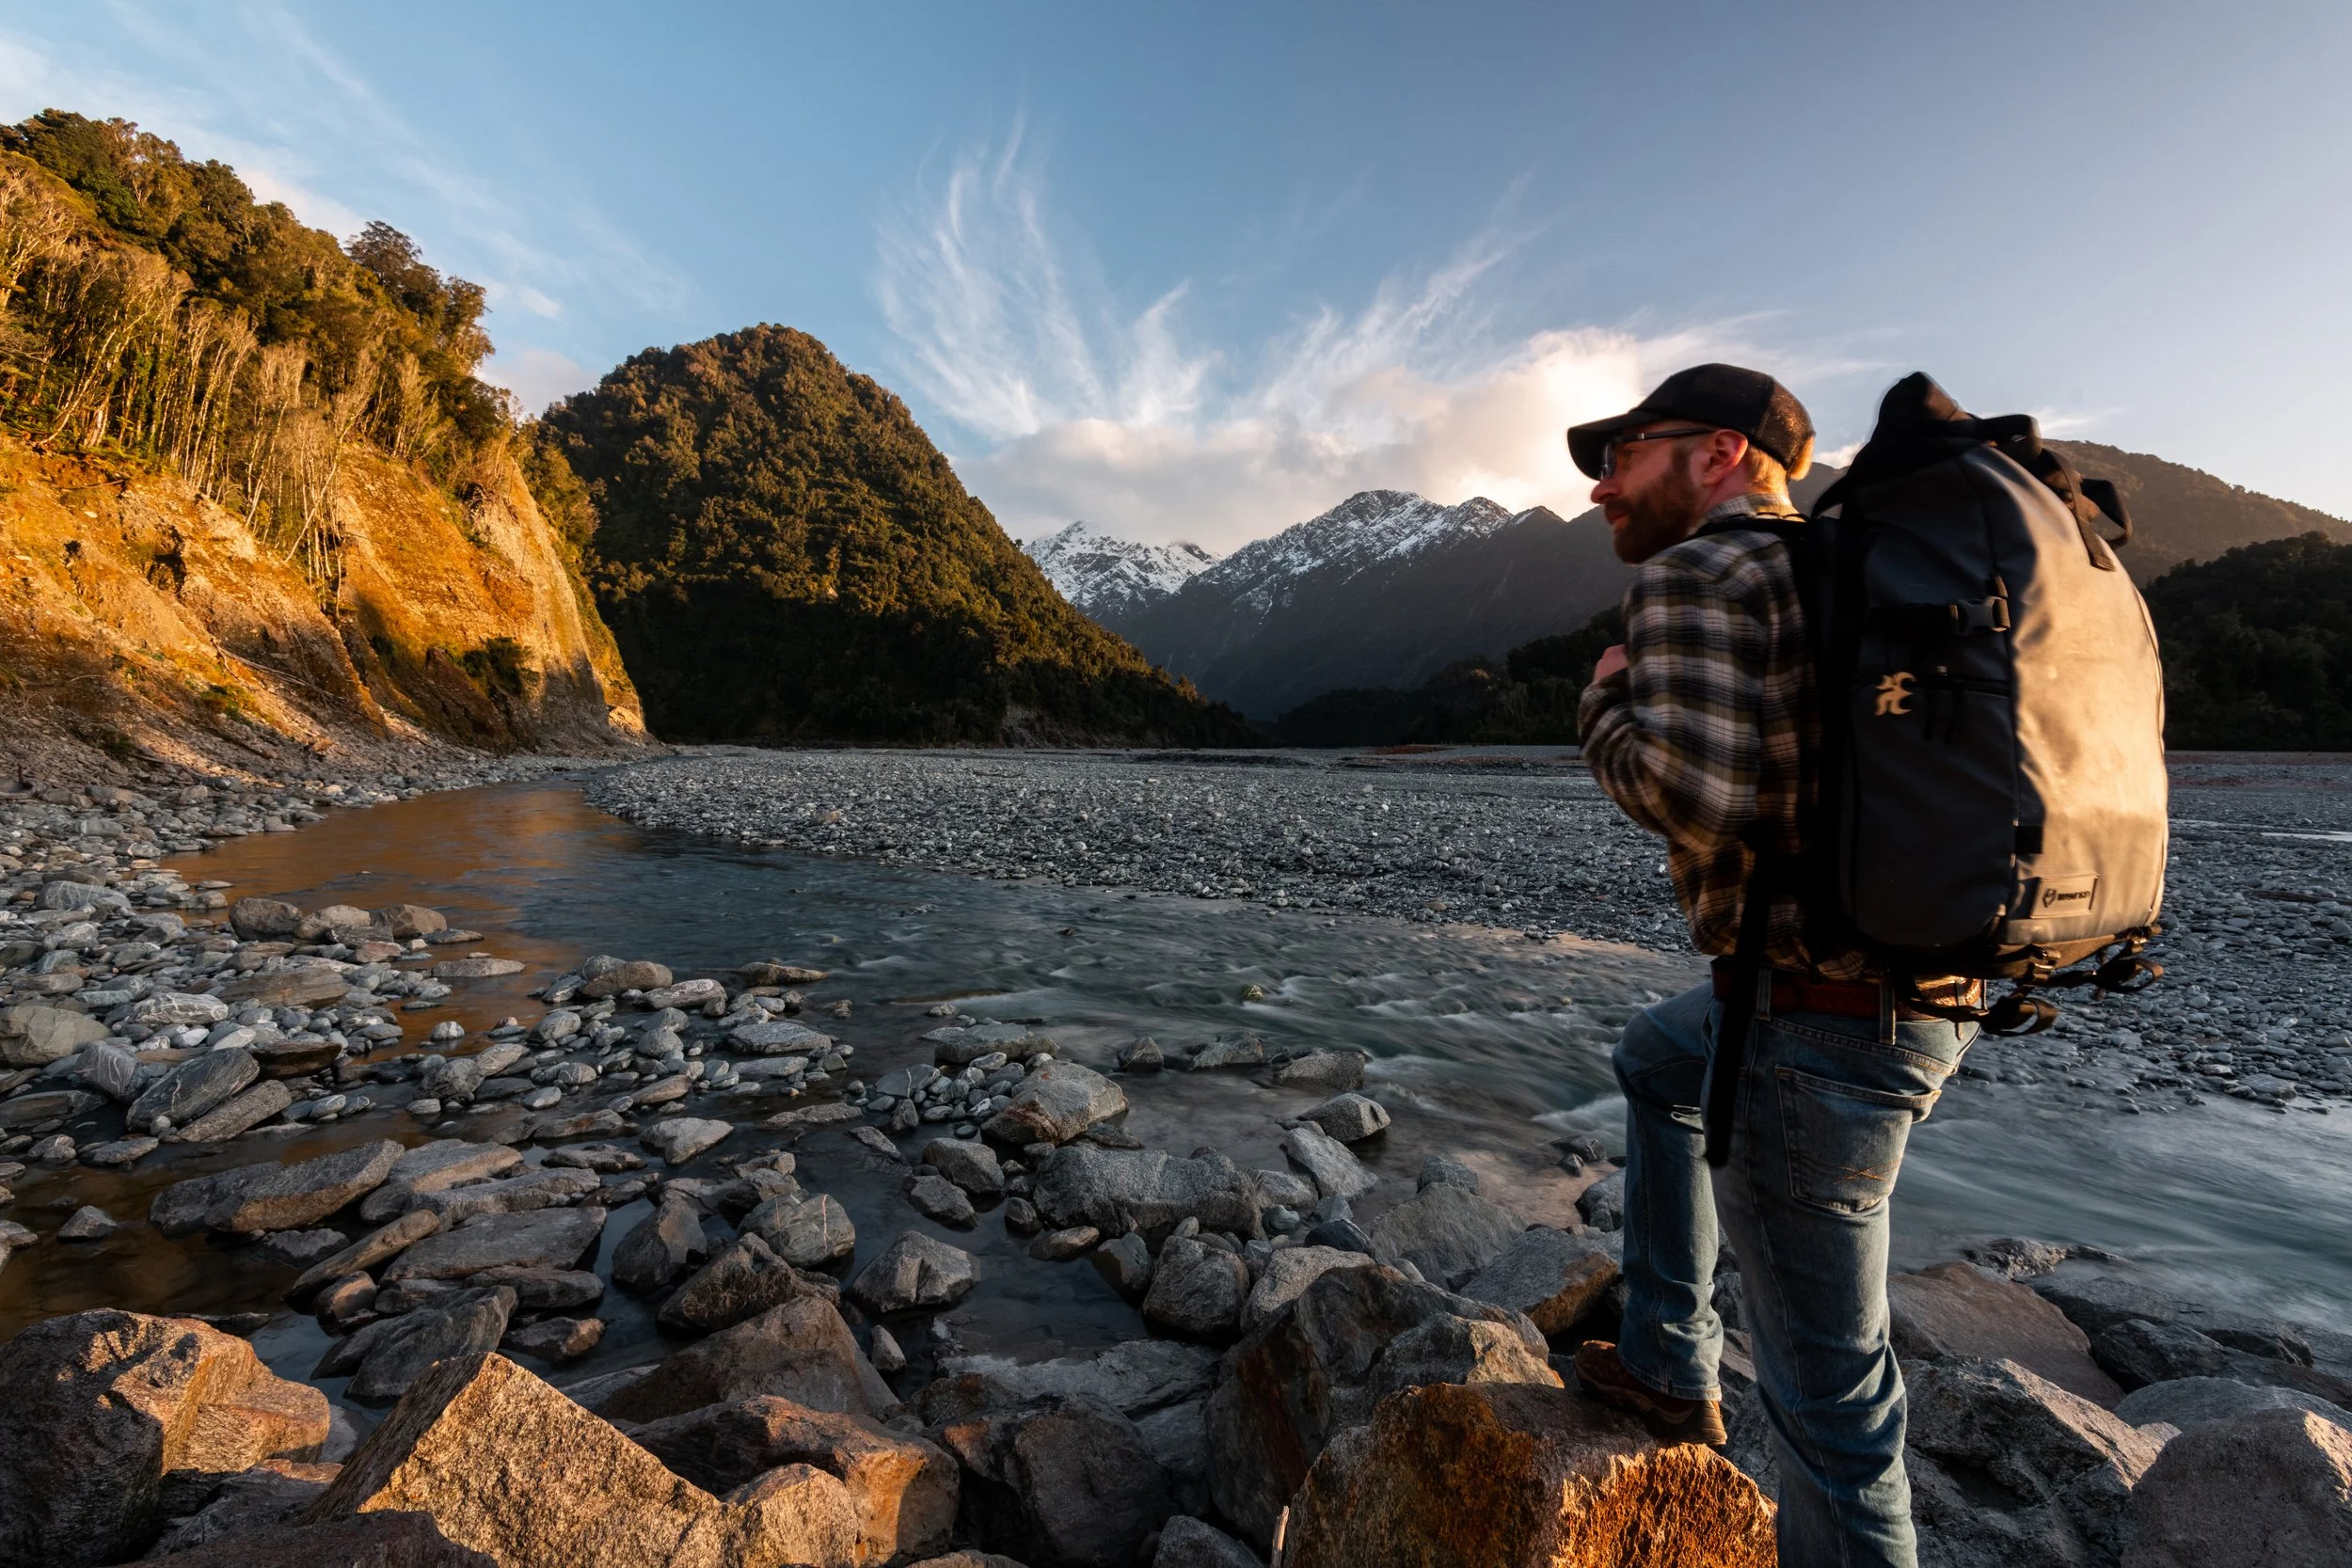
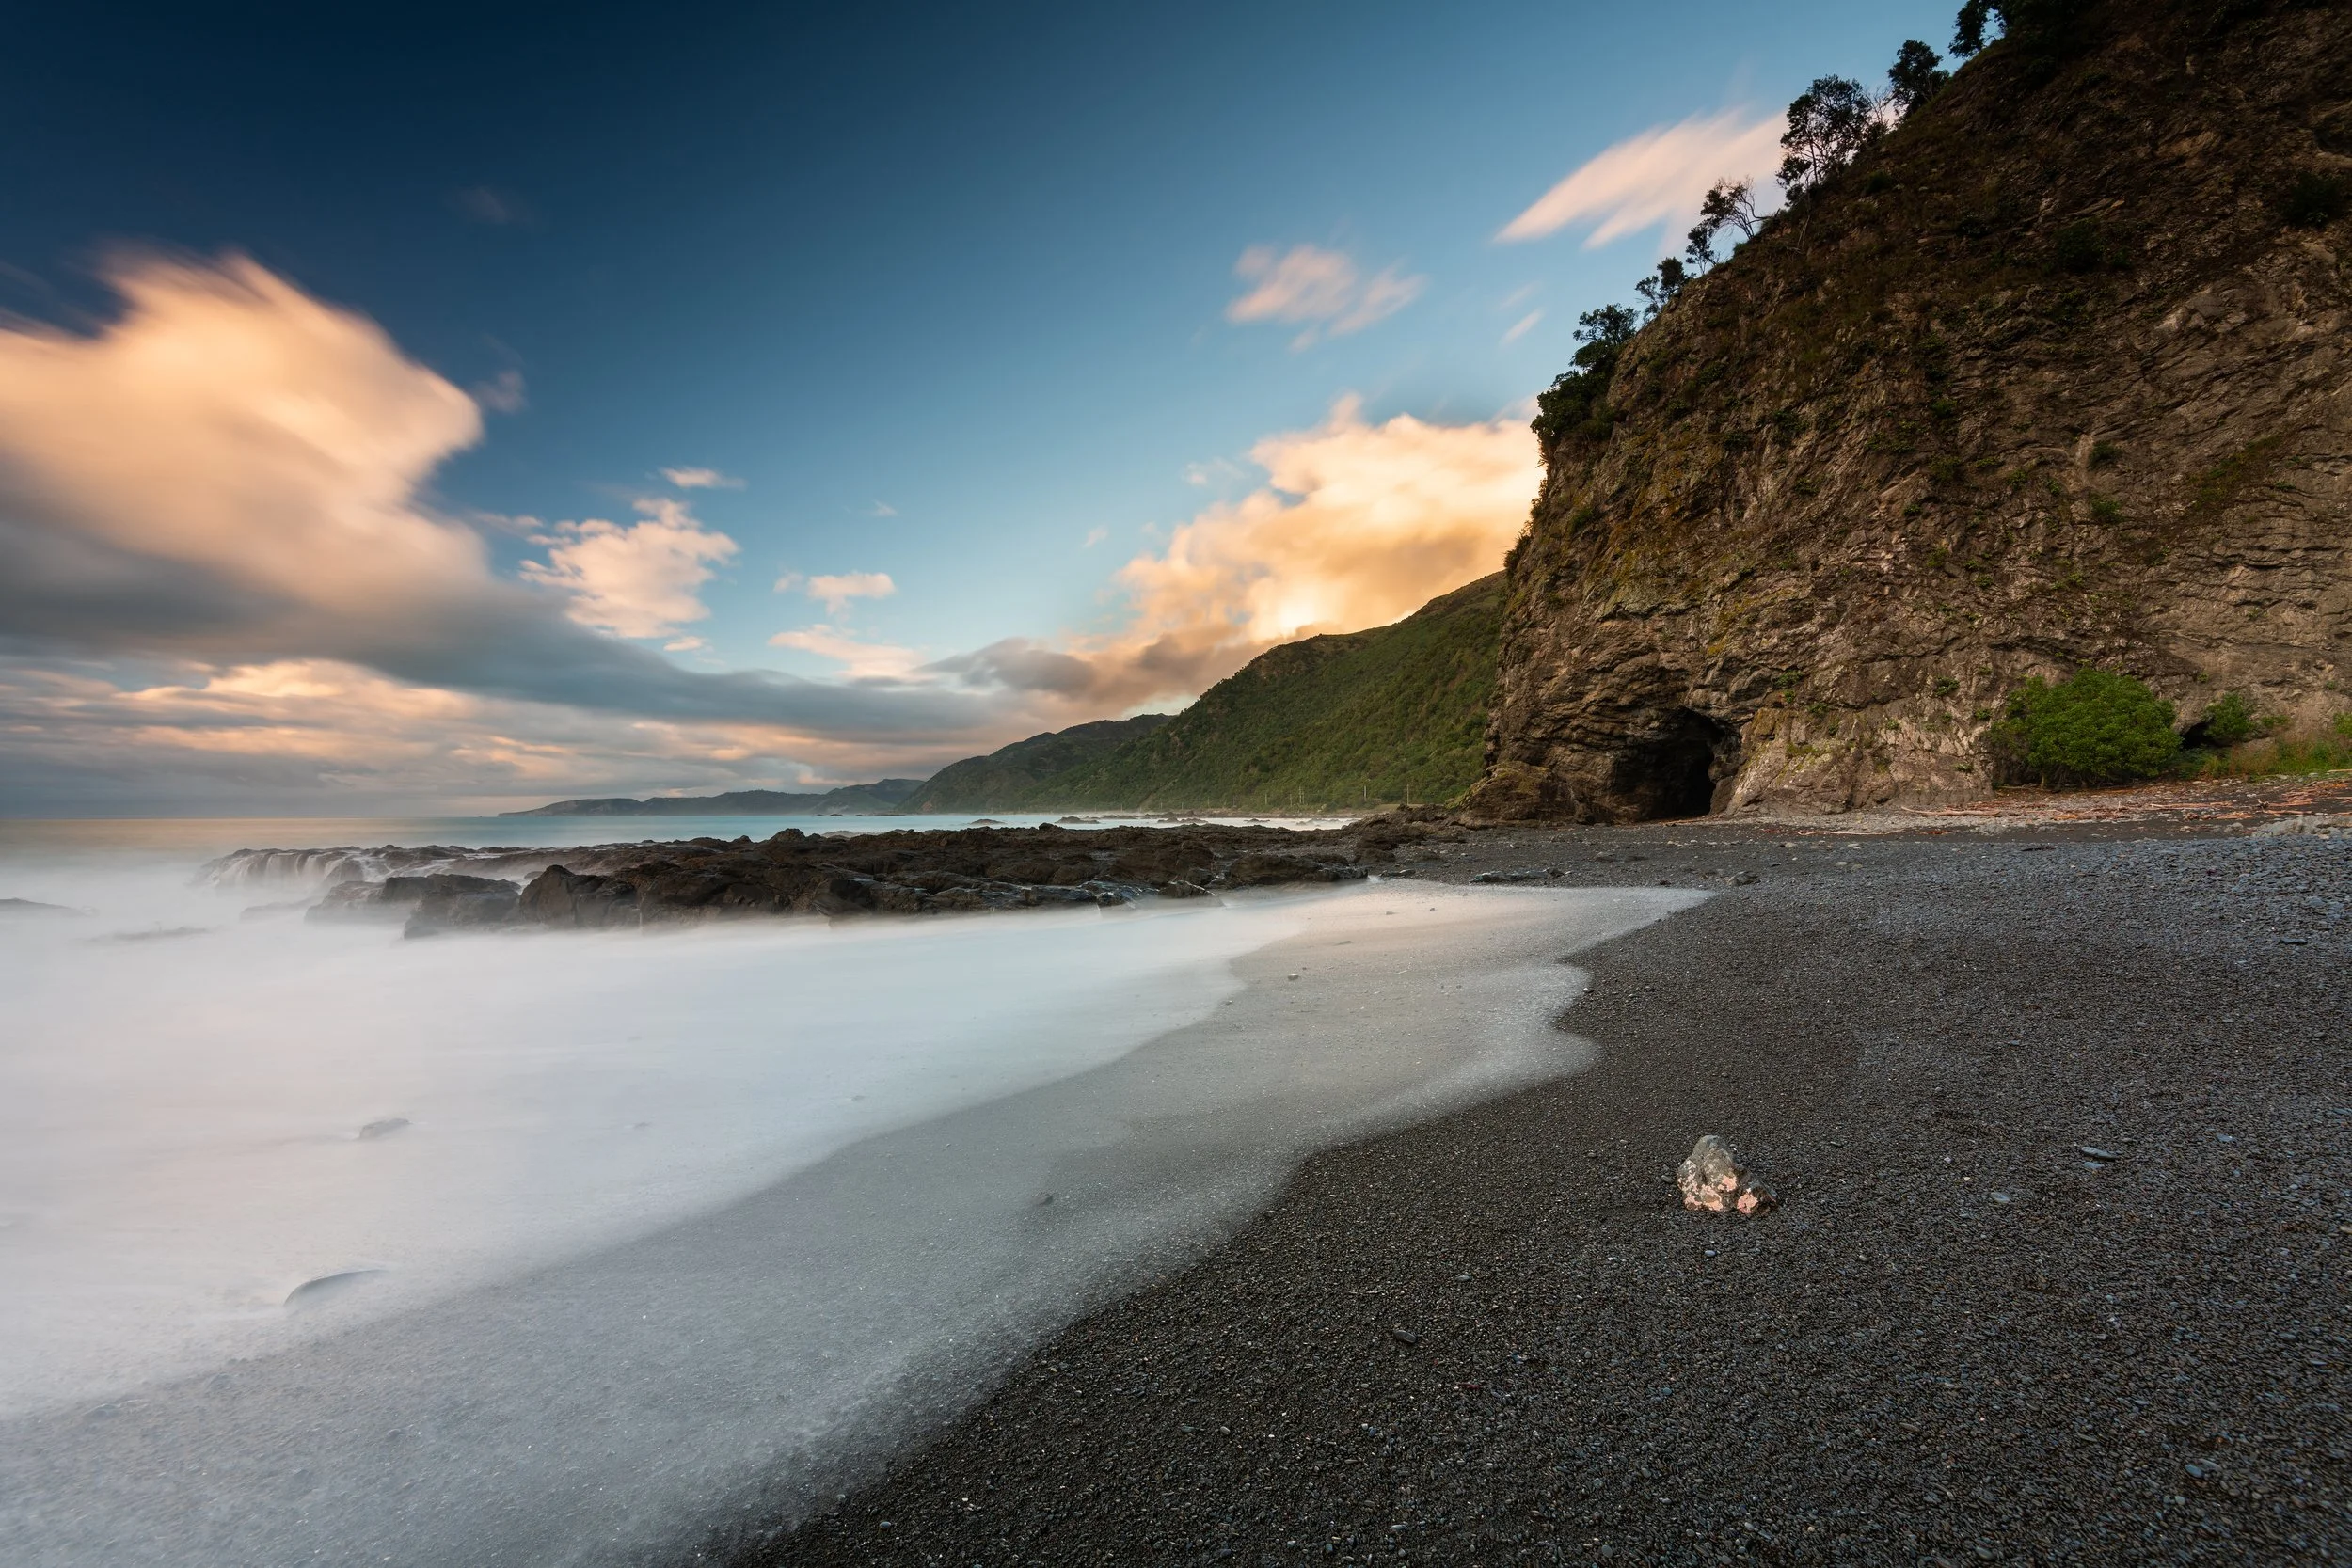
Blog Josh Prostejovsky 2/18/26 Josh Prostejovsky 2/18/26 My Best Photographs of 2025 Read More Photography Tips Josh Prostejovsky 2/9/26 Photography Tips Josh Prostejovsky 2/9/26 What is a long exposure? Read More Photography Tips Josh Prostejovsky 1/29/26 Photography Tips Josh Prostejovsky 1/29/26 The first lens you should buy for landscape photography Read More Josh Prostejovsky 1/21/22 Josh Prostejovsky 1/21/22 Top 5 Locations in Far North Queensland For Landscape Photography (Cairns Region) Read More
Photography Tips Josh Prostejovsky 2/9/26 Photography Tips Josh Prostejovsky 2/9/26 What is a long exposure? Read More
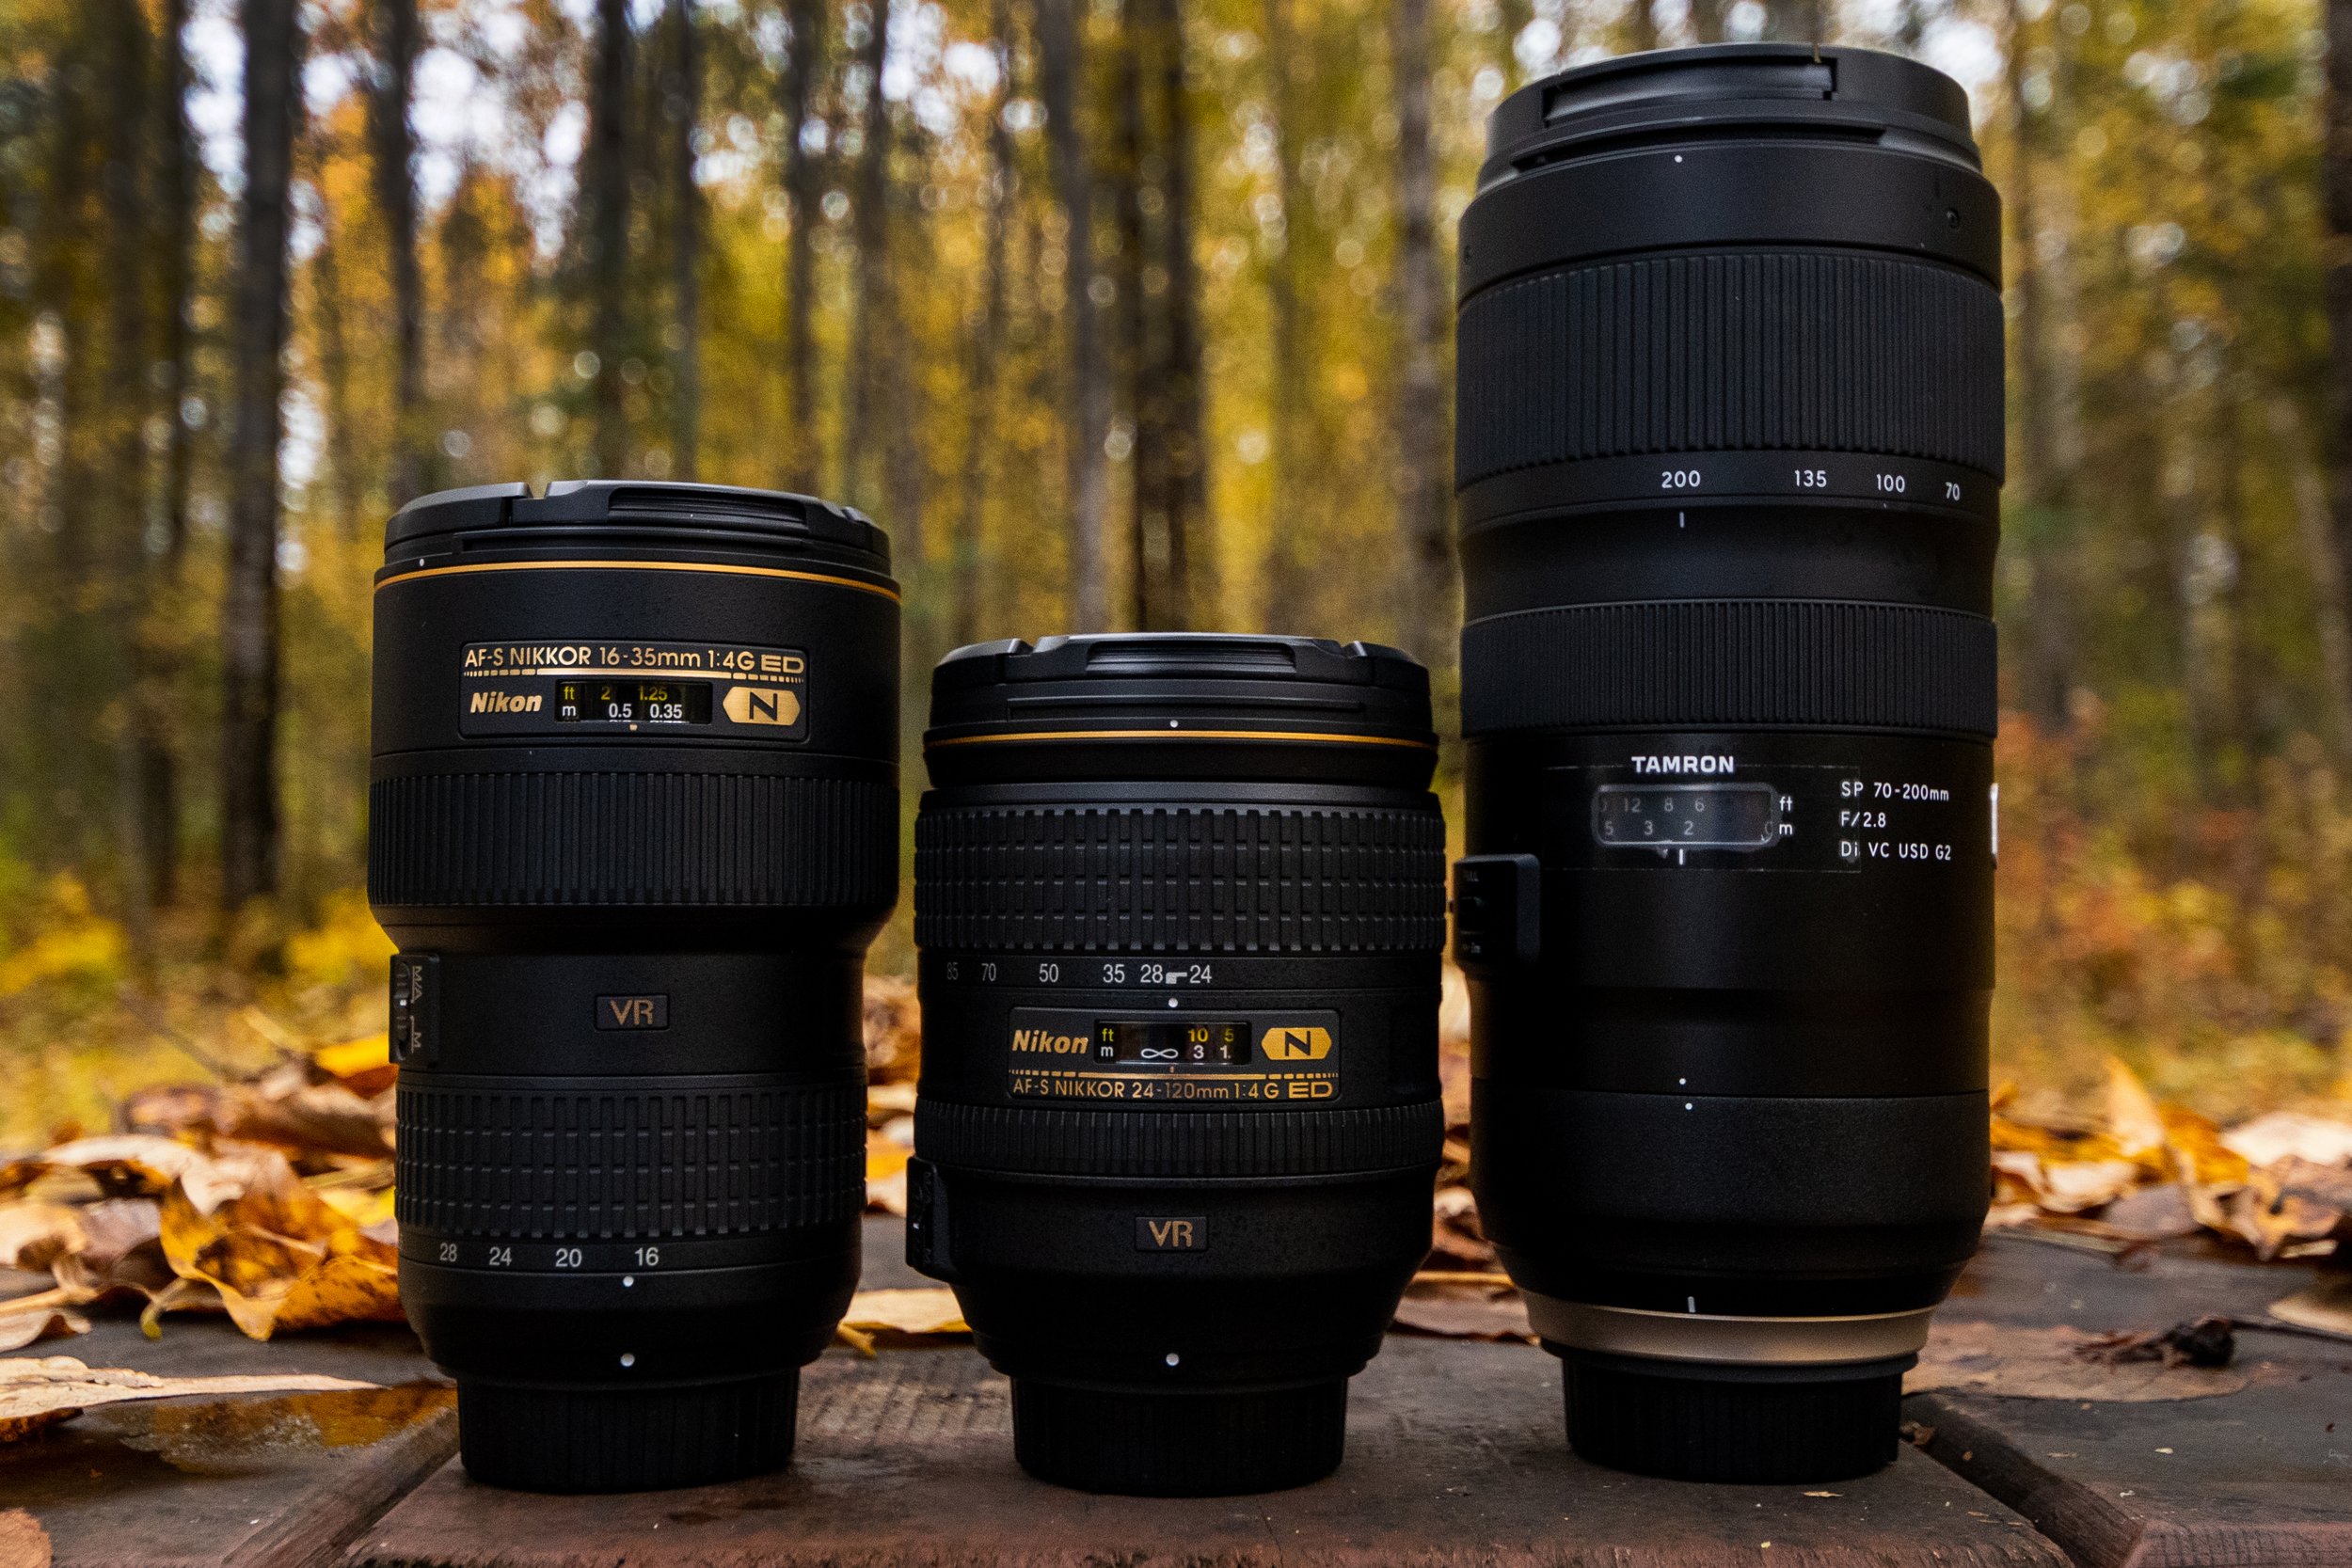
Photography Tips Josh Prostejovsky 1/29/26 Photography Tips Josh Prostejovsky 1/29/26 The first lens you should buy for landscape photography Read More
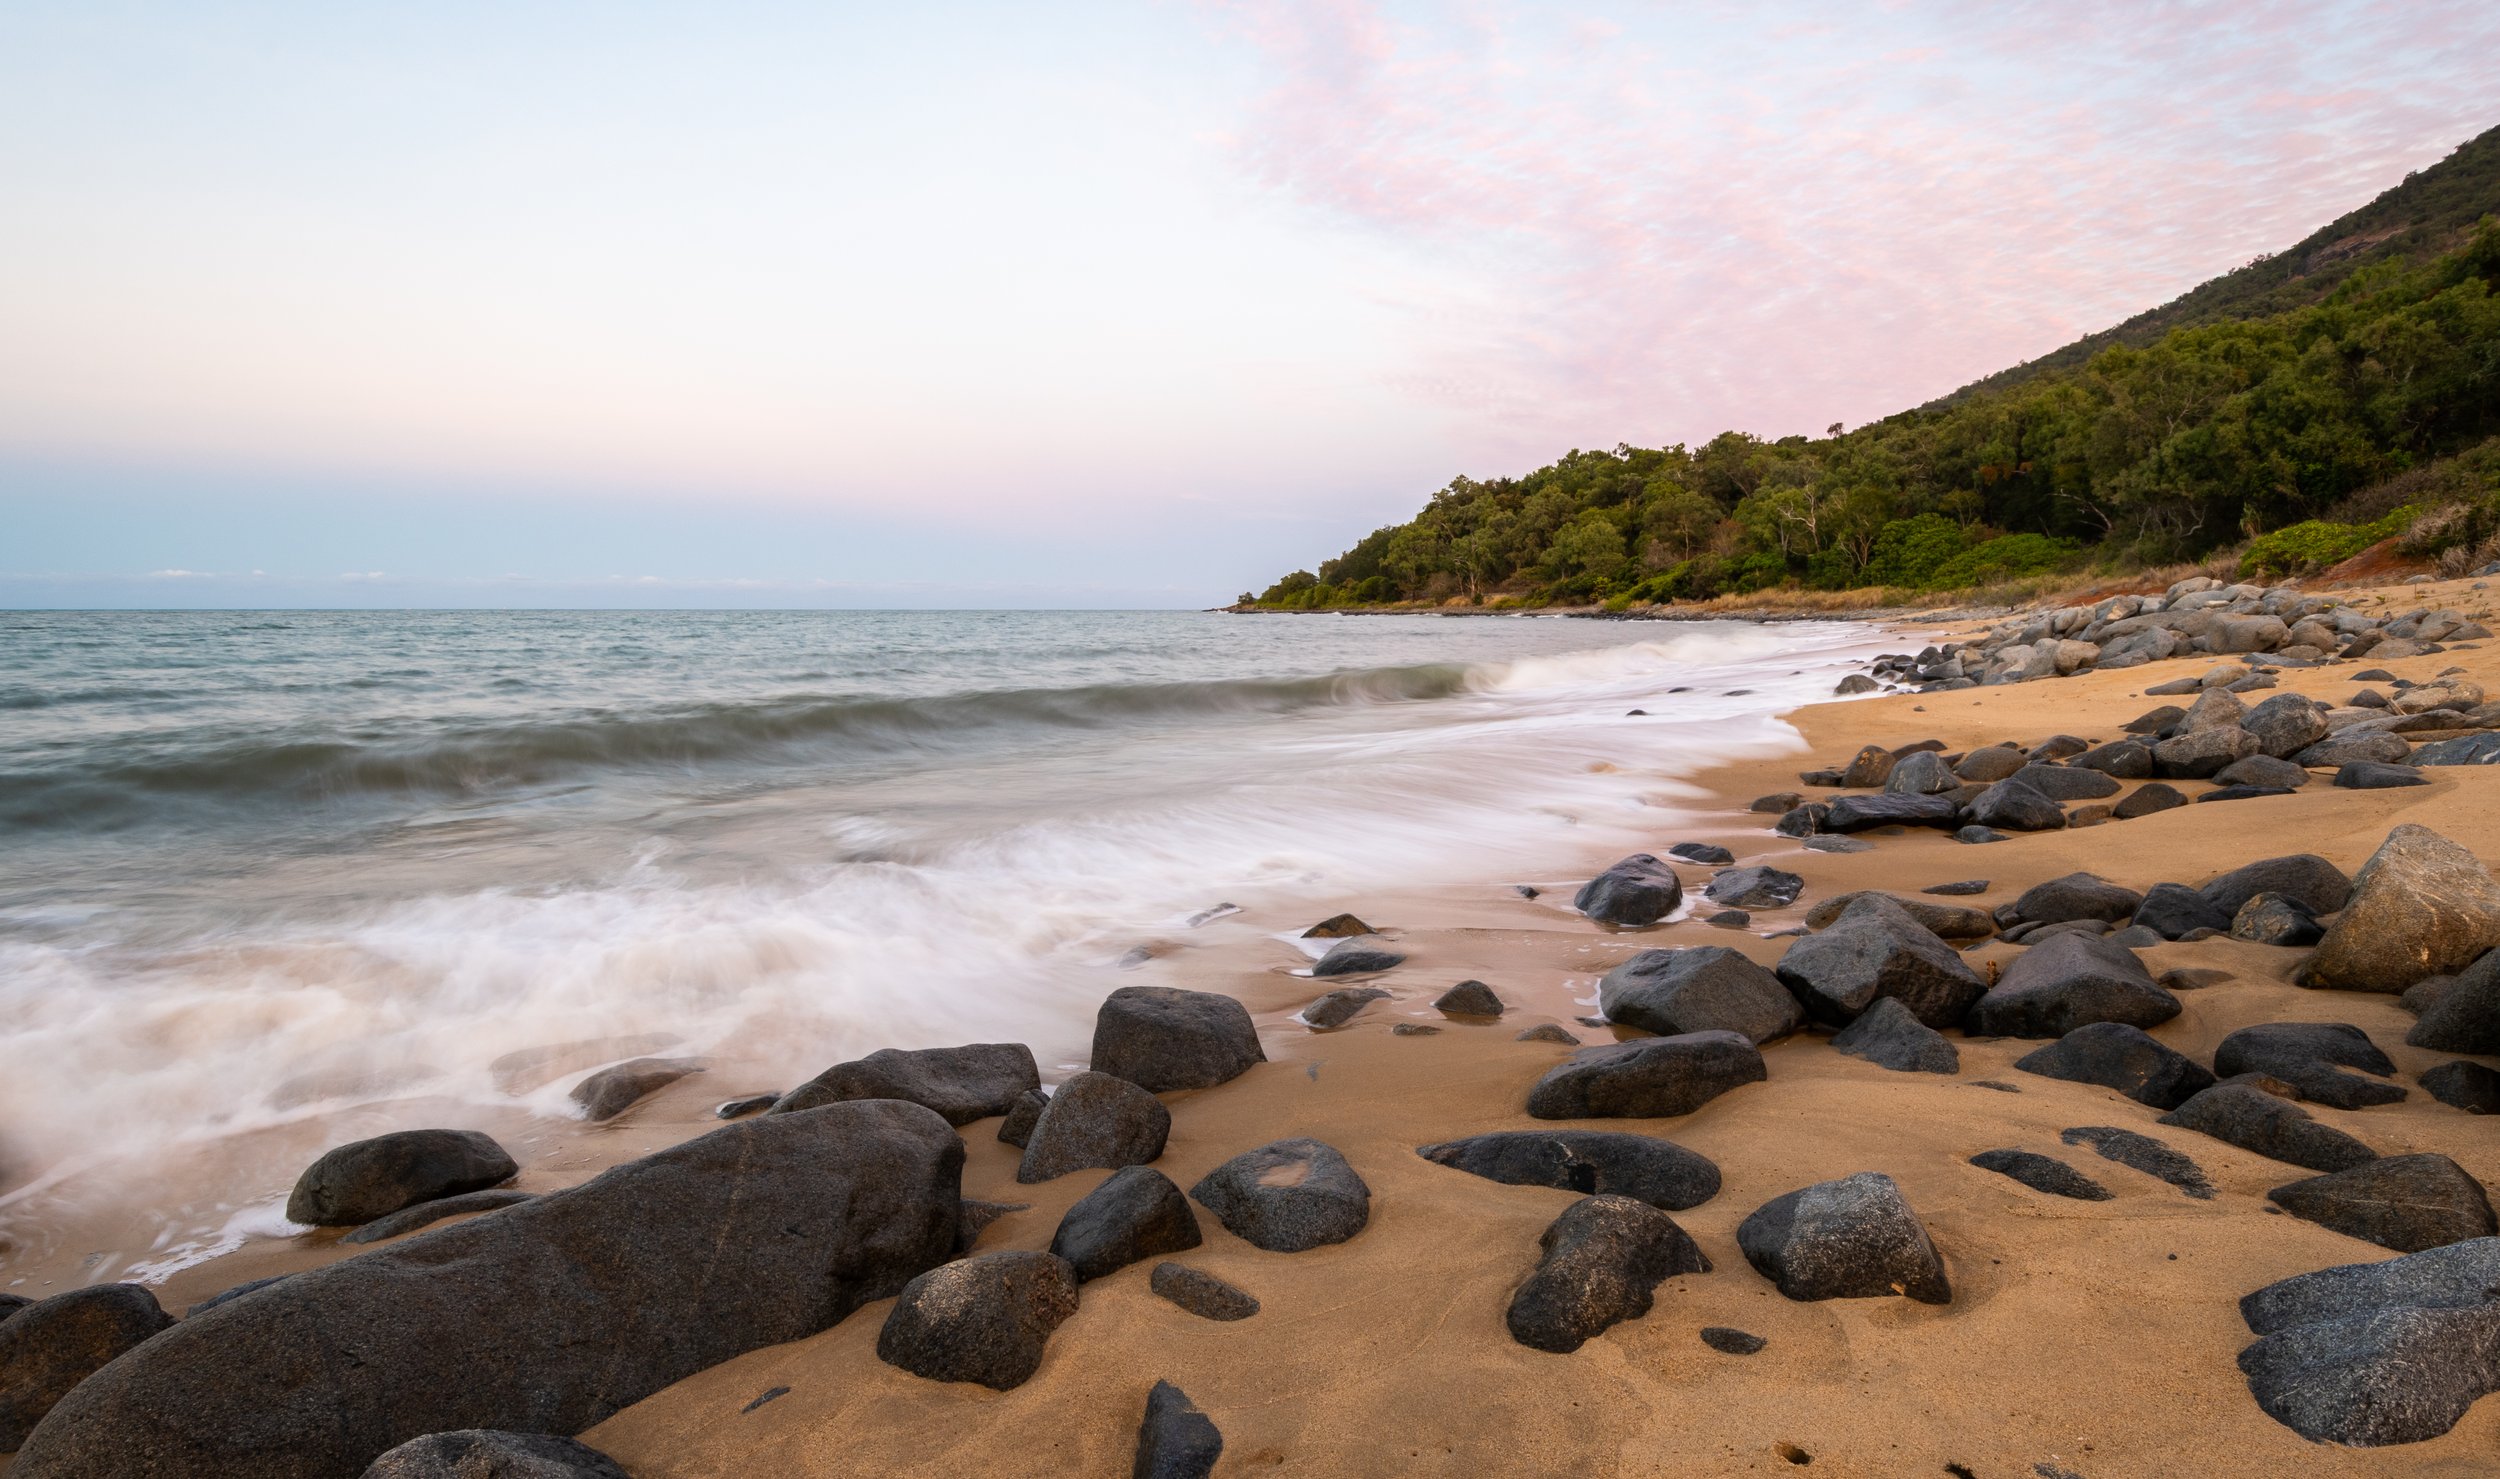
Josh Prostejovsky 1/21/22 Josh Prostejovsky 1/21/22 Top 5 Locations in Far North Queensland For Landscape Photography (Cairns Region) Read More